Chain Waxing
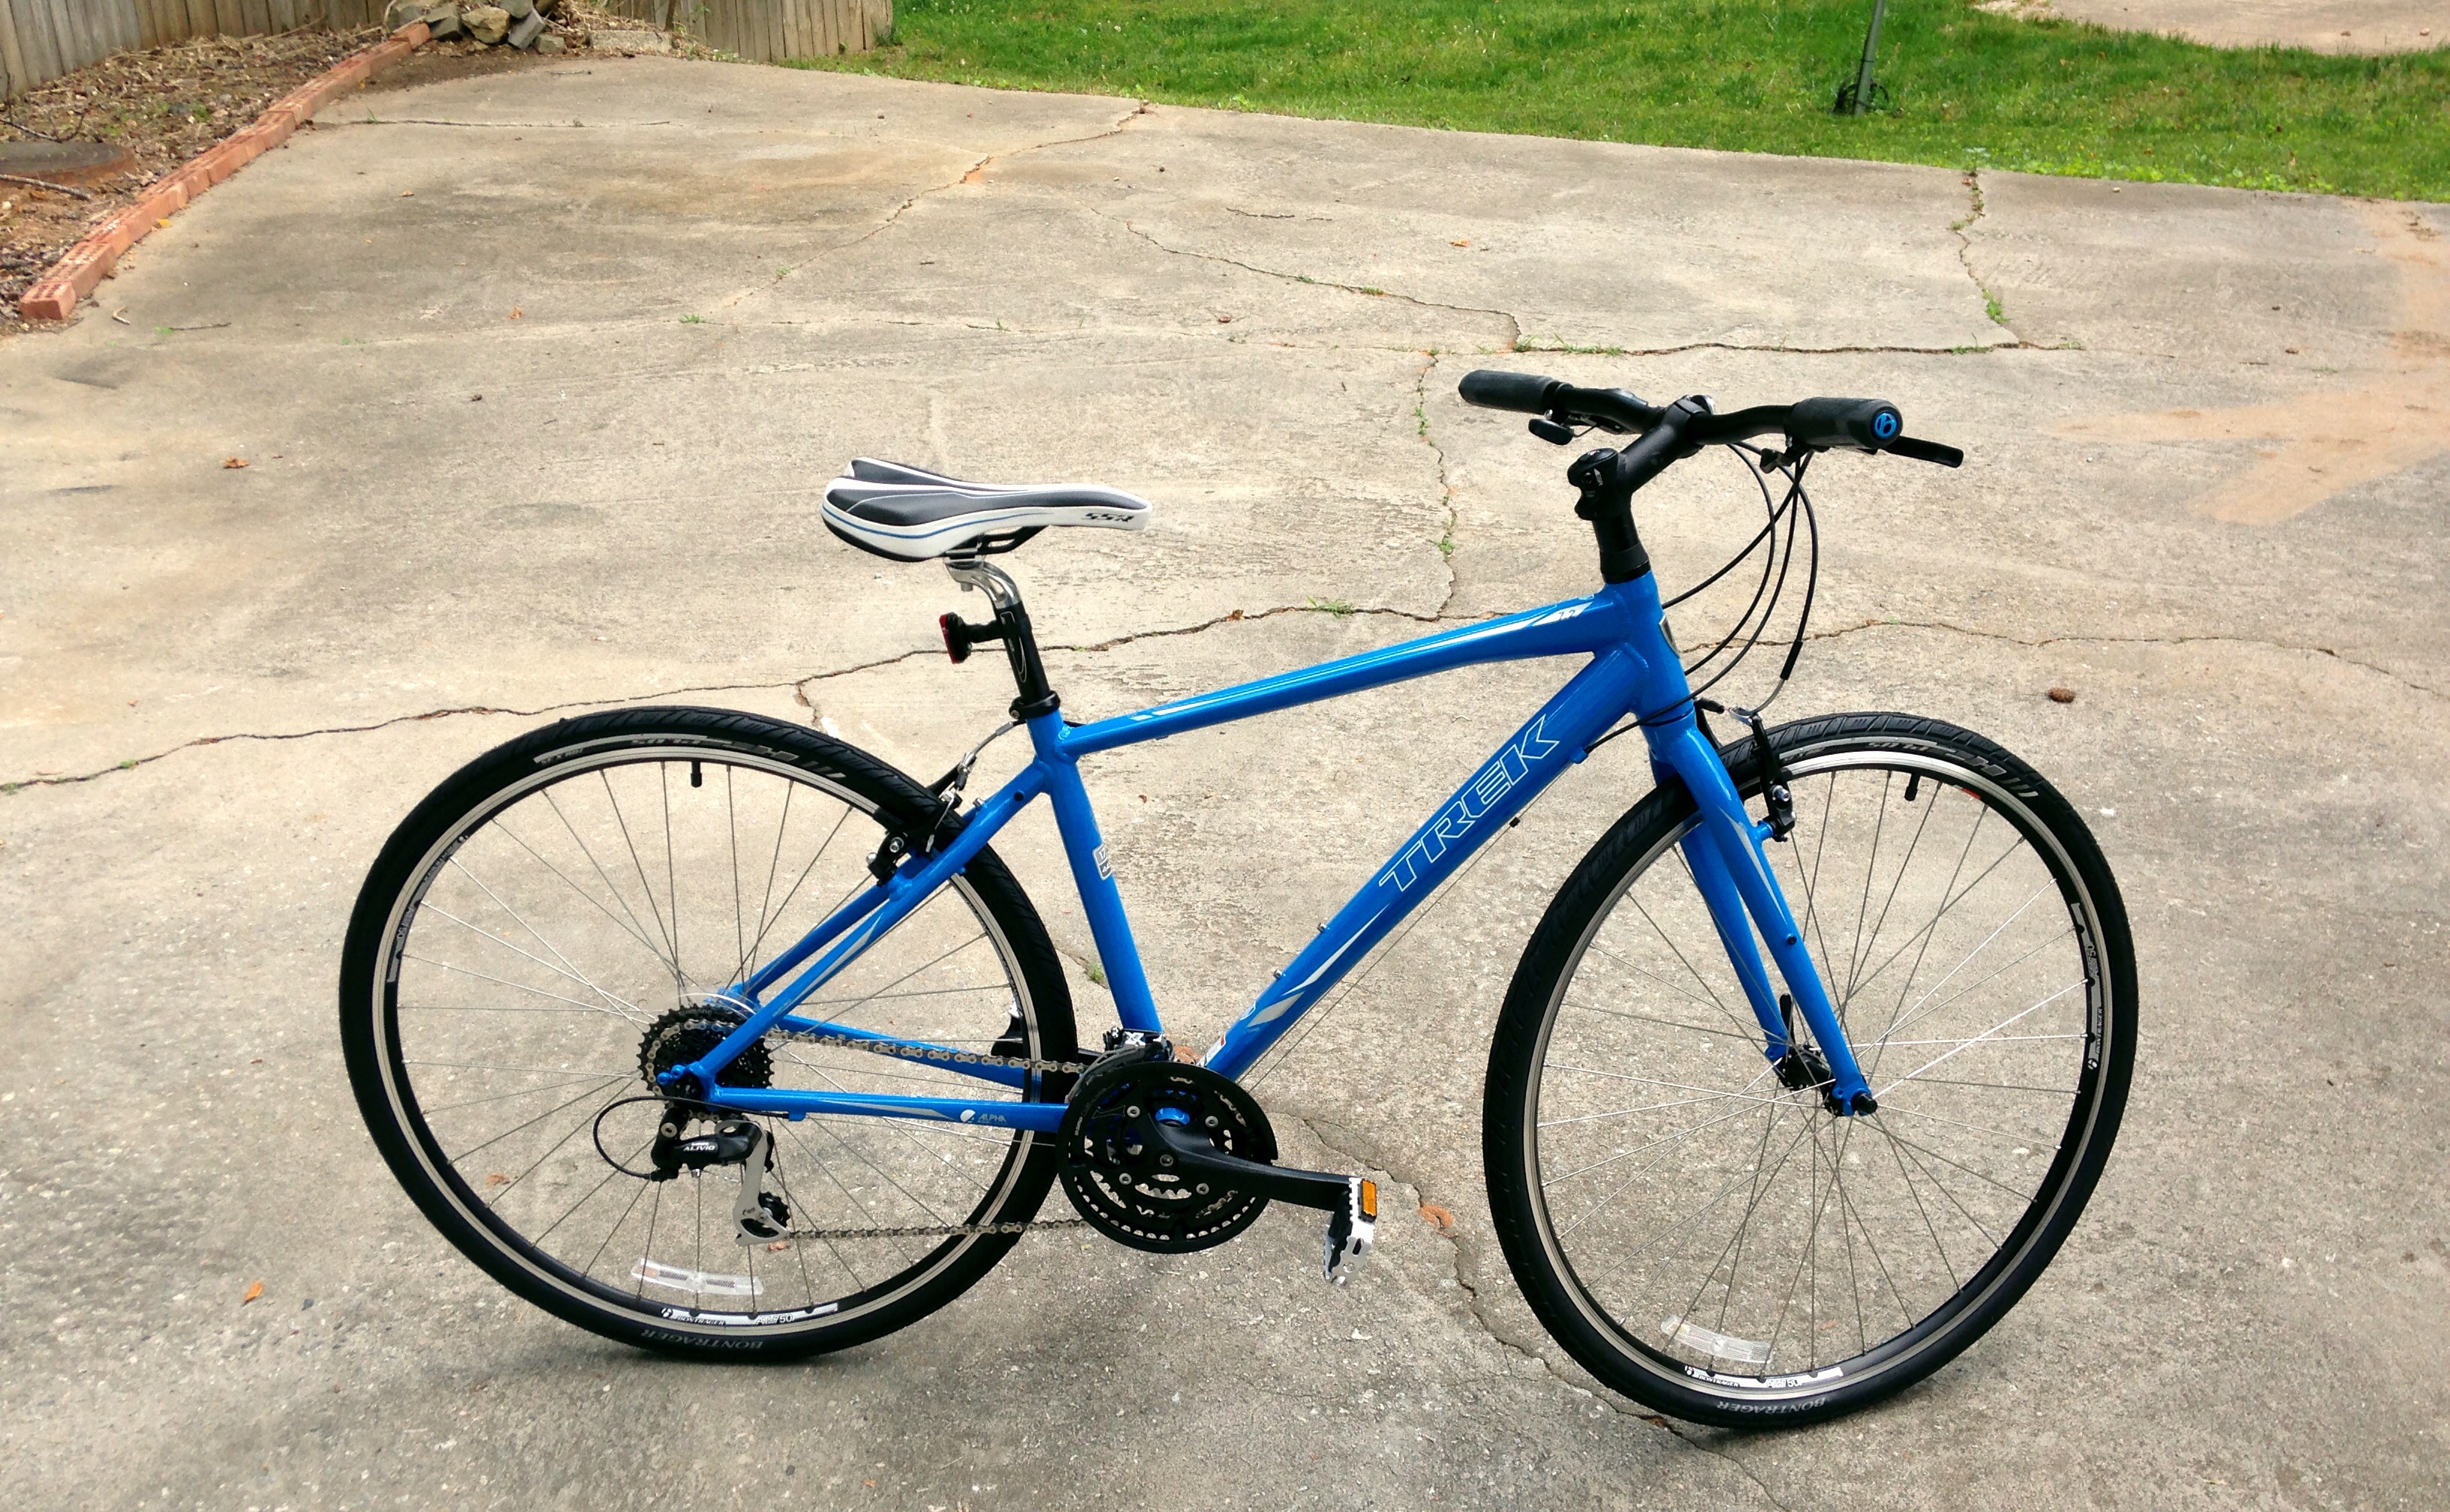
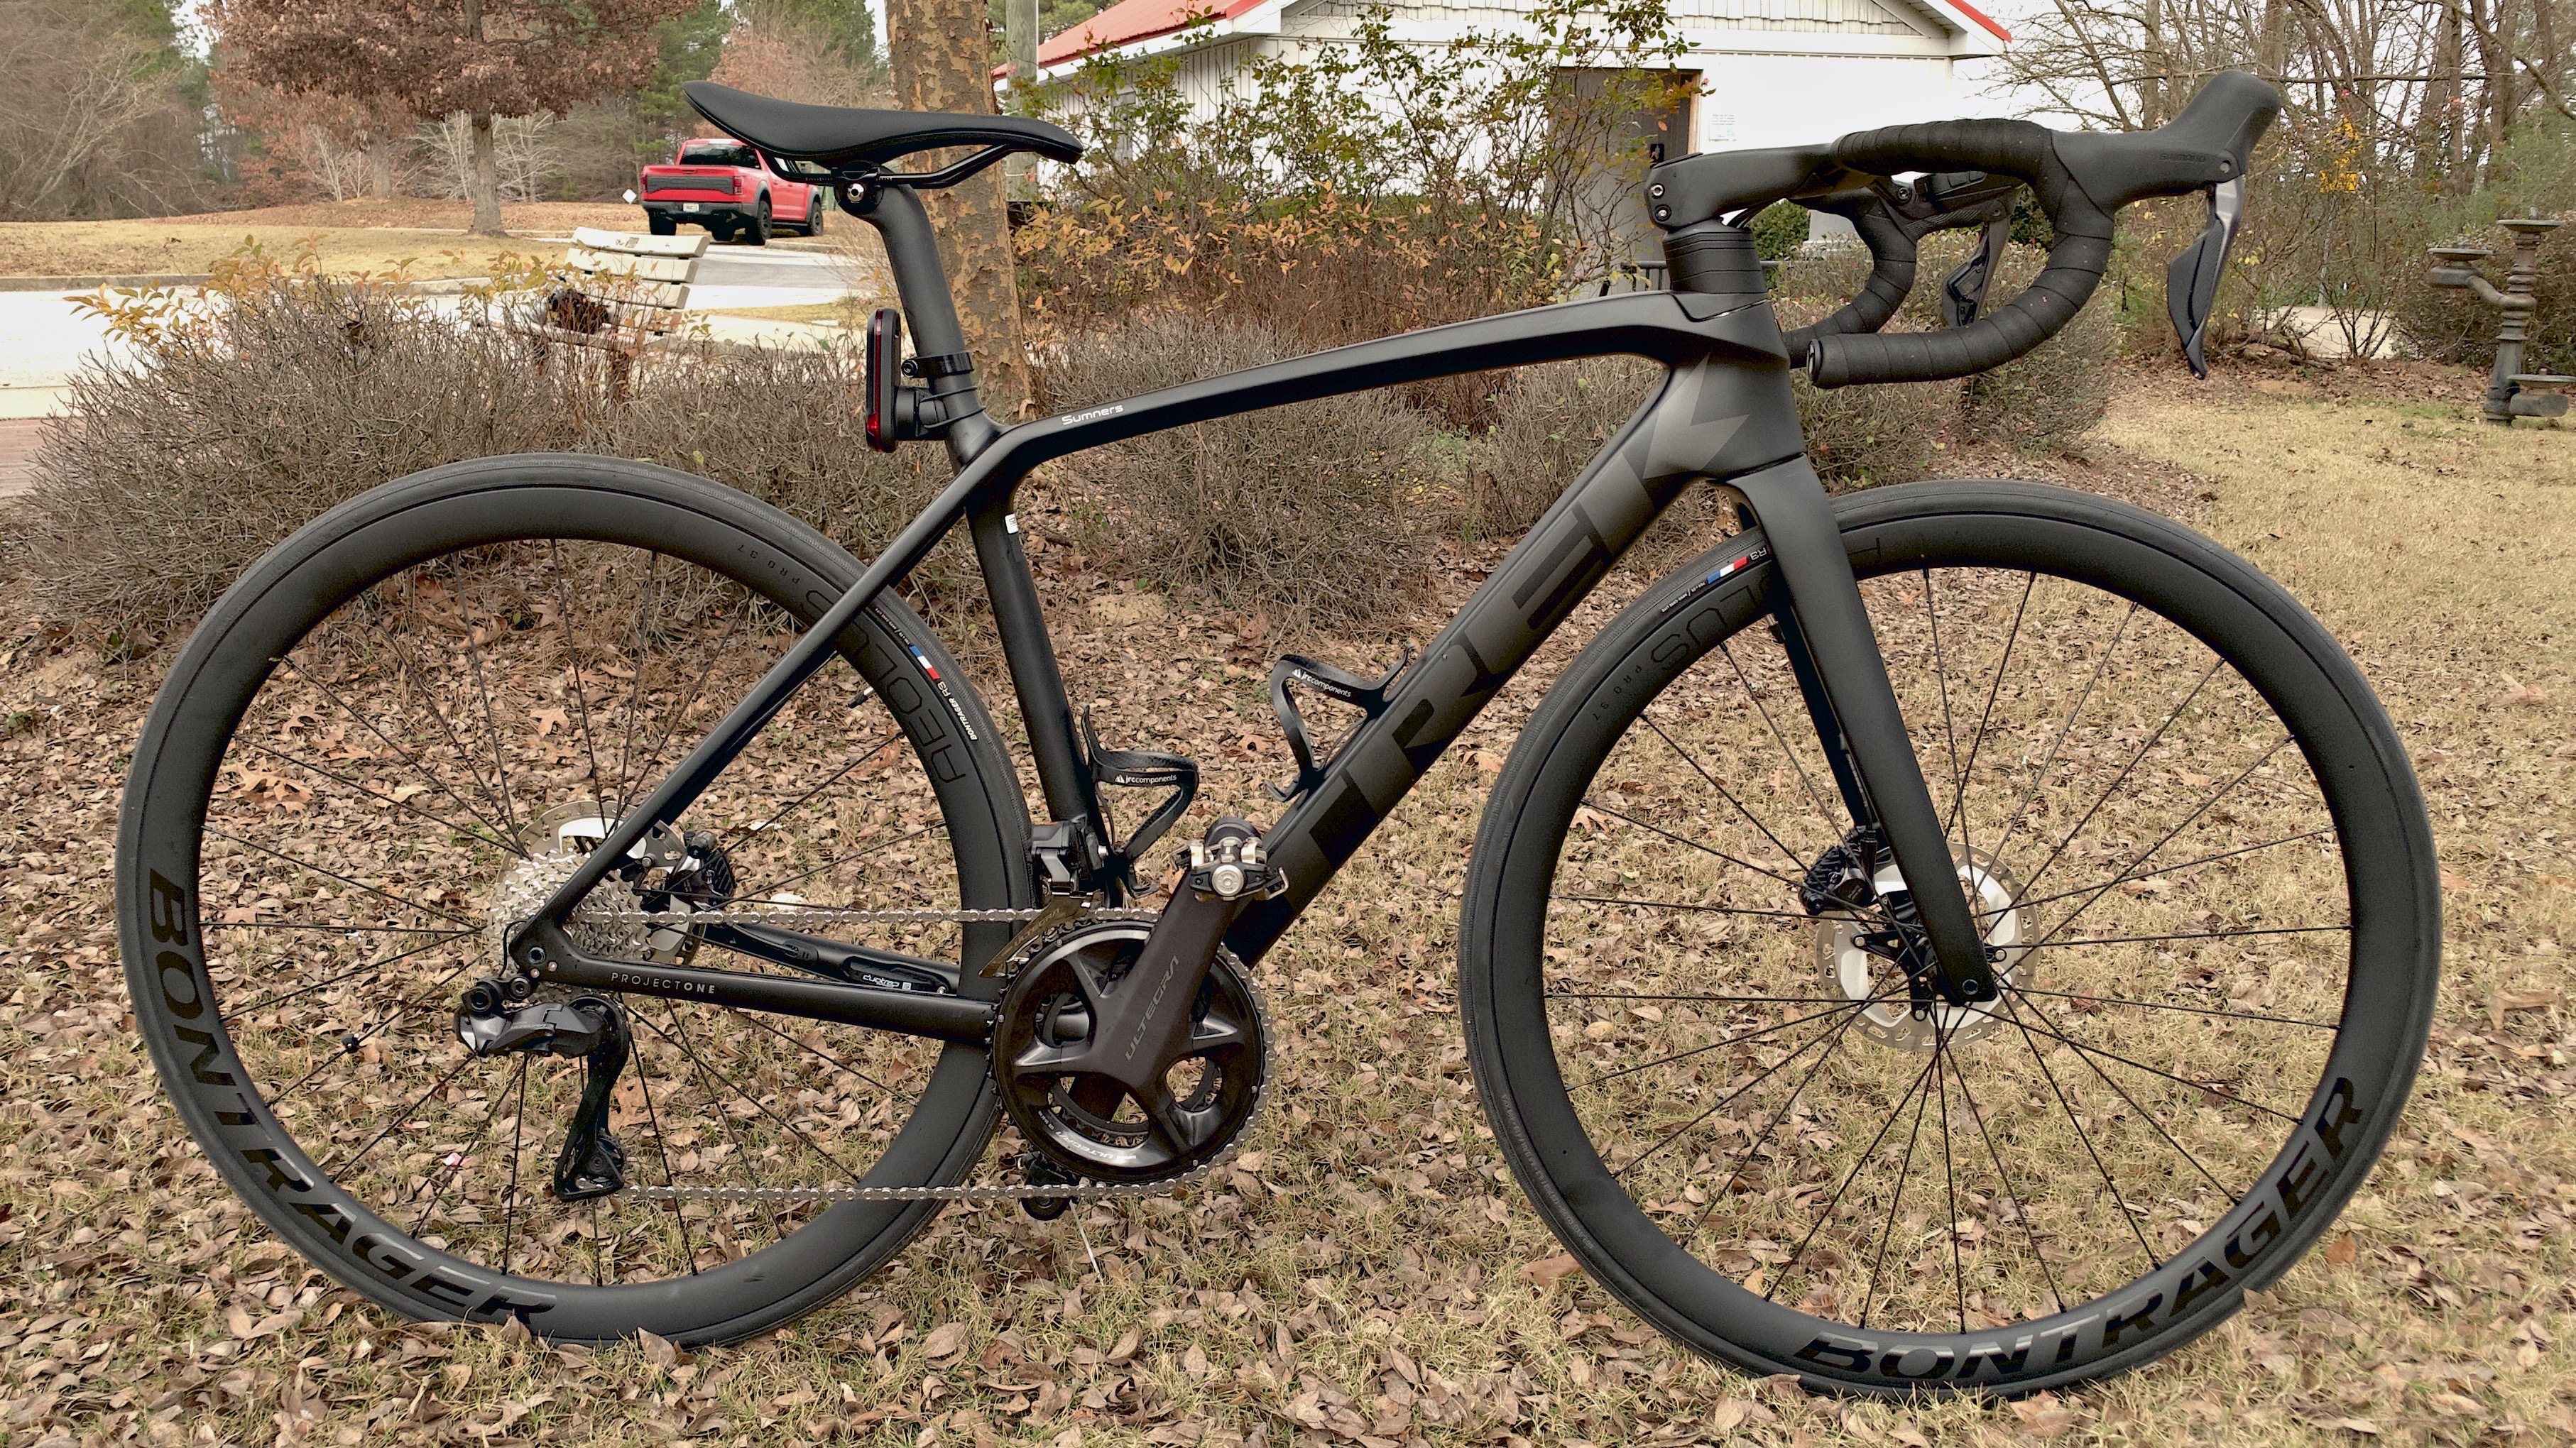
When I started my cycling hobby in 2014 I started out with a Trek FX 7.2, as seen in Figure 1. I put roughly 2,500 miles on that bike, and I think the most maintenance I ever did to the chain was to wipe it with a cloth before putting more lubricant on. When I upgraded to my Crossrip 3 in 2018, Figure 2, I started doing better. I put almost 9,000 miles on that bike and I routinely ran the chain through a handheld cleaner device, dried it, and then re-applied fresh lubricant. Shortly after getting my latest bike, my 2021 Émonda SLR 7, I learned about waxing bike chains and decided to give it a try since my chain was so new.

Materials §
Whereas the upfront materials for maintaining a chain with web lubricant is primarily the lubricant itself, a cleaning device, and some degreaser, the bill of materials to get started with chain waxing is a bit lengthier:
- Silca Hot Melt Wax: the primary wax to be used on the chain.
- Silca Chain Coating: drip wax to be used between full waxes.
- degreaser
- denatured alcohol
- lidded jars
- chain link pliers
- chain hook
- chain links
InstantPot: to melt the wax with.extra cooking pot: for the wax.- wax warmer: to melt the wax with (see Update 2023-06-15 below)
It’s a lot of stuff with a rather hefty upfront cost. But, as you can learn below, I think it was worth it.
Preparing The Chain §
Before the chain can be waxed it needs to be completely free of any current lubricant and debris. This is best done with a completely new, unused chain, but can be done with a relatively fresh chain. When I started this experiment I had about 200 miles on my chain. The further the chain has been ridden, the less “worth it” it will be to clean it and wax it. I wish I had started with a new chain, but I think up to about 300 miles on the chain will be okay.
Zero Friction Cycling (ZFC) has a chain prep guide that covers everything, but the short of it is:
- Soak the chain in degreaser, occasionally shaking the jar to agitate it, for a couple minutes.
- Take the chain from the degreaser, wipe off with a towel (blue paper towels are fine).
- Repeat step 1 & 2 with another jar of fresh degreaser until the degreaser does not become cloudy.
- Rinse the chain with a jar of denatured alcohol until the alcohol does not show any particulates.
As the ZFC guide indicates, steps 1 and 2 can be a long process. I used three jars for the degreaser and it took a full 10 rounds of degreasing before I was convinced the chain was clean. The short of it is that I used the full 1 gallon bottle of degreaser to clean the chain. And still it took two alcohol baths to finish flushing the chain of dirt.
Waxing The Chain §
The howto that Slica provides is fairly comprehensive and easy to follow. In short:
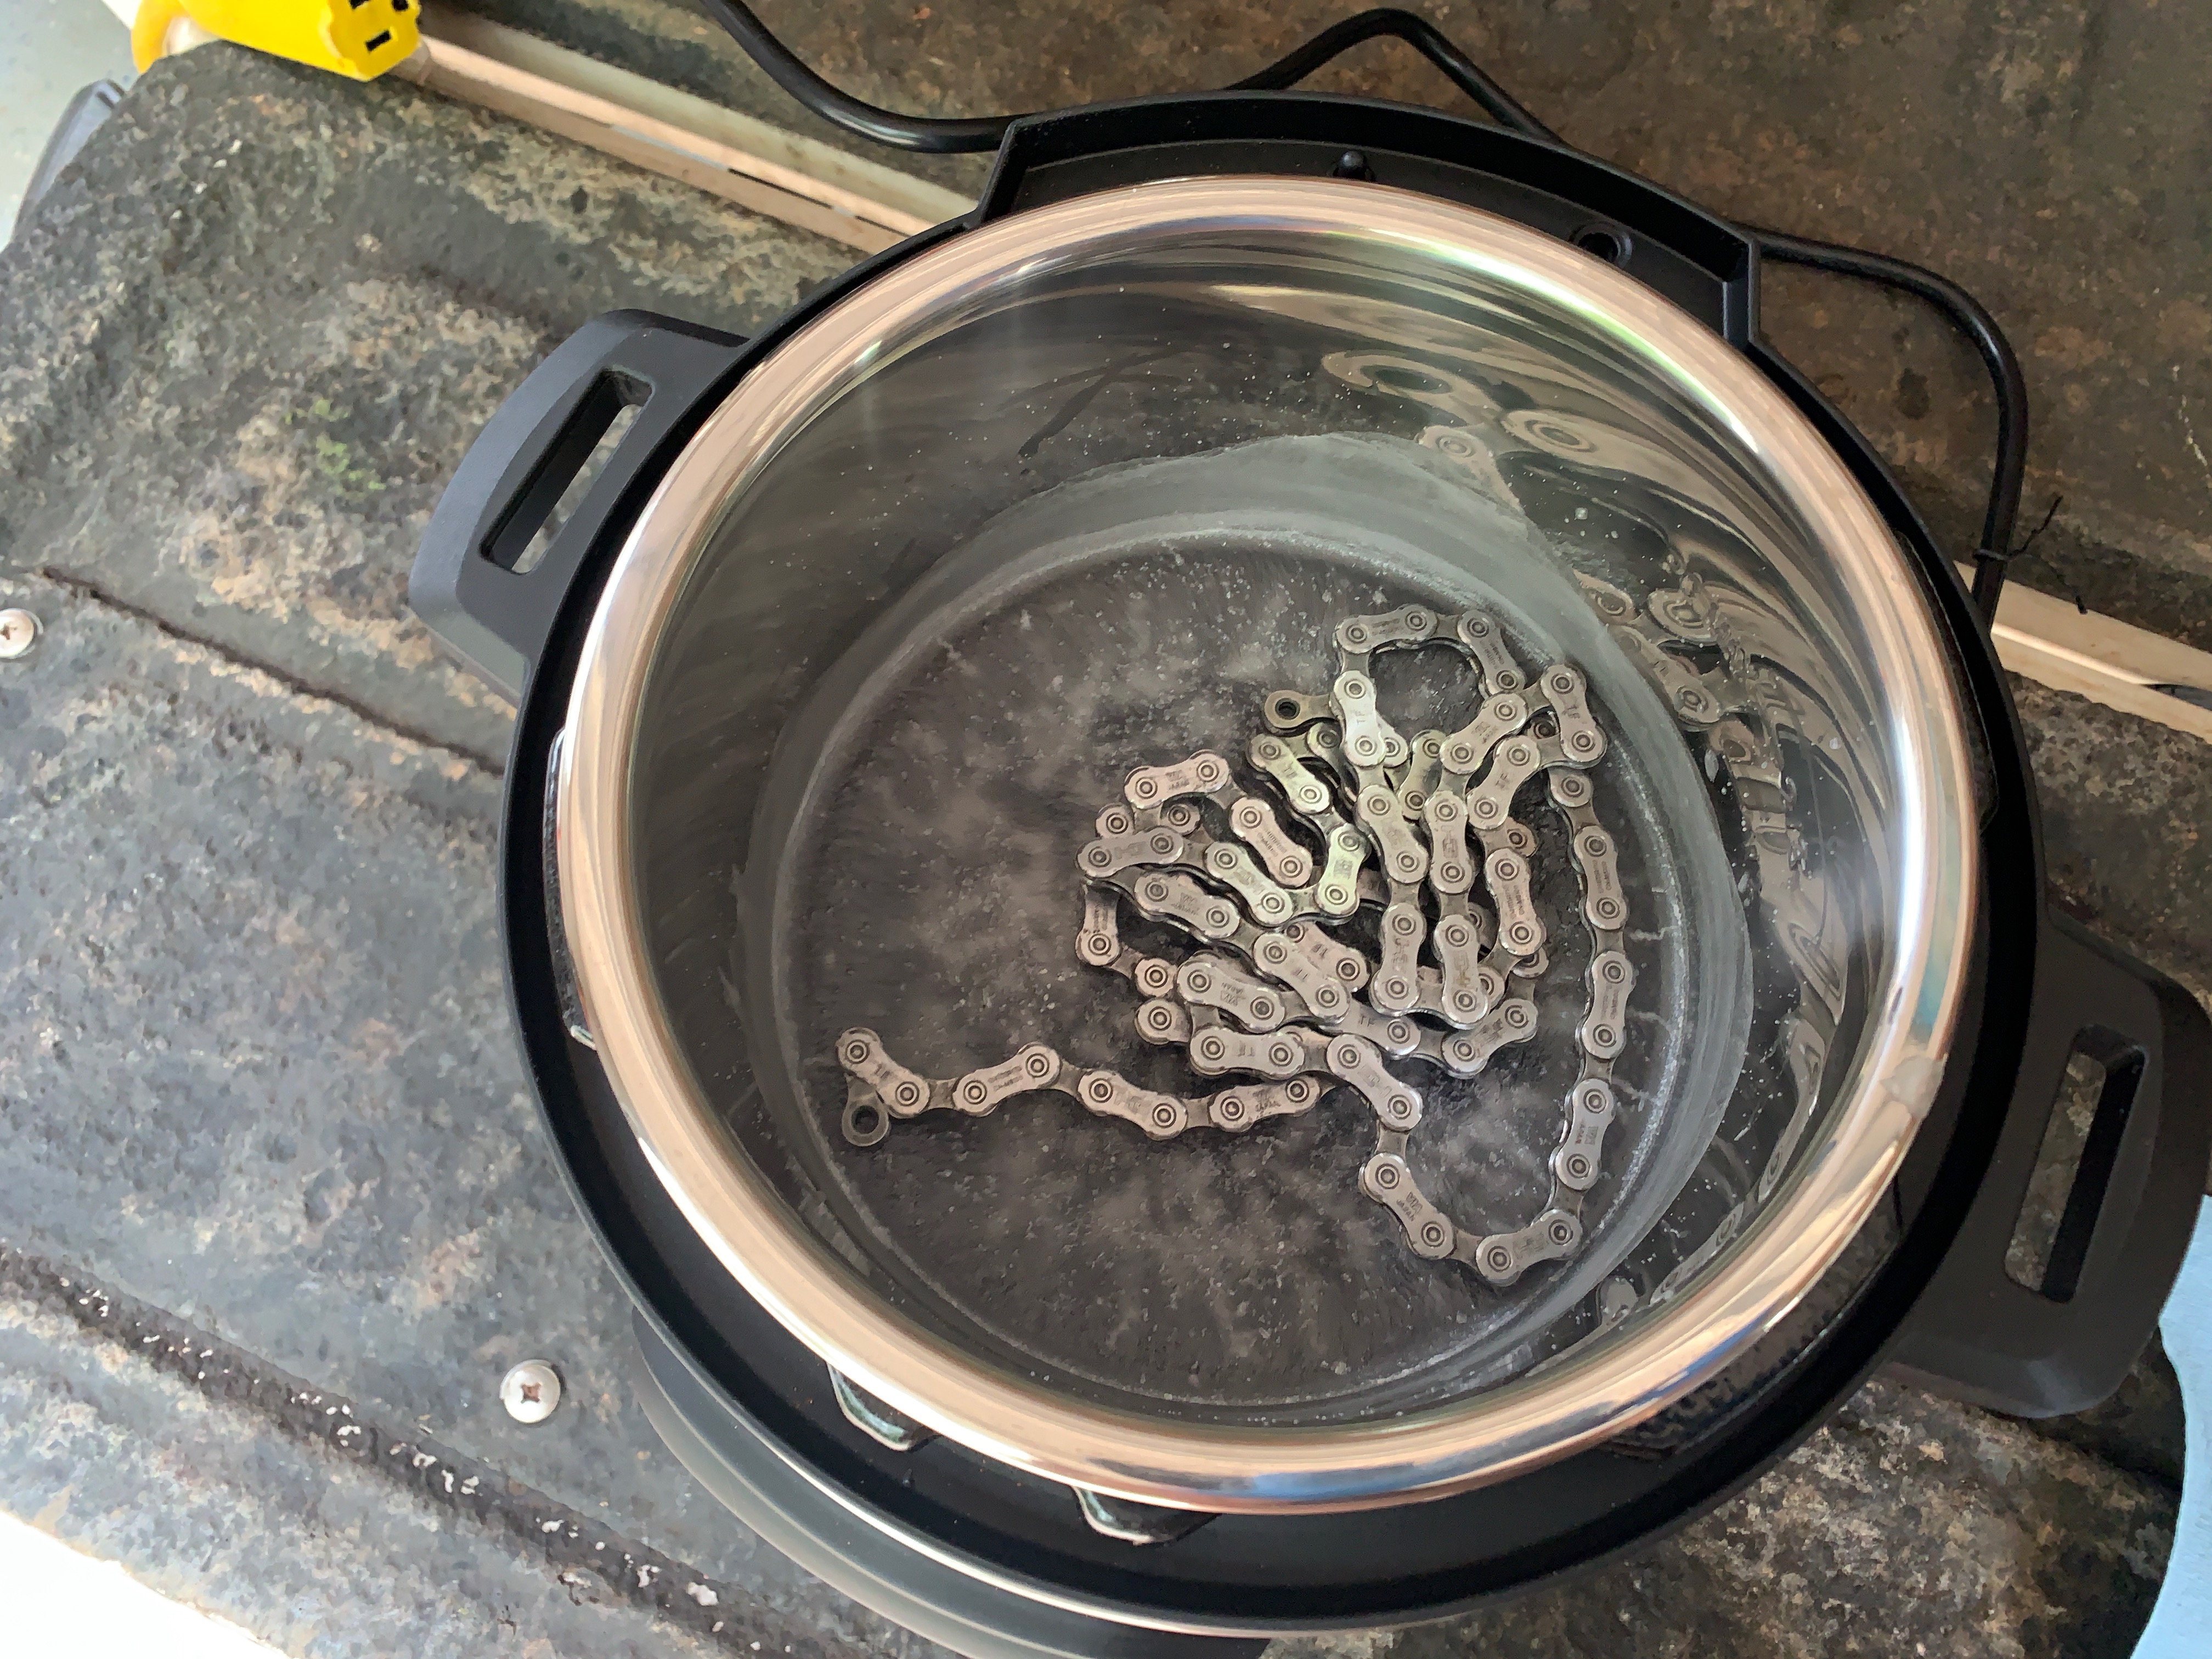
- Put the wax into the InstantPot and set the cooker to slow cook on high. It’s easiest to put the chain on top of the wax so that it heats along with the wax.
- Let the wax heat to about 70ºC.
- Take the pot out of the cooker.
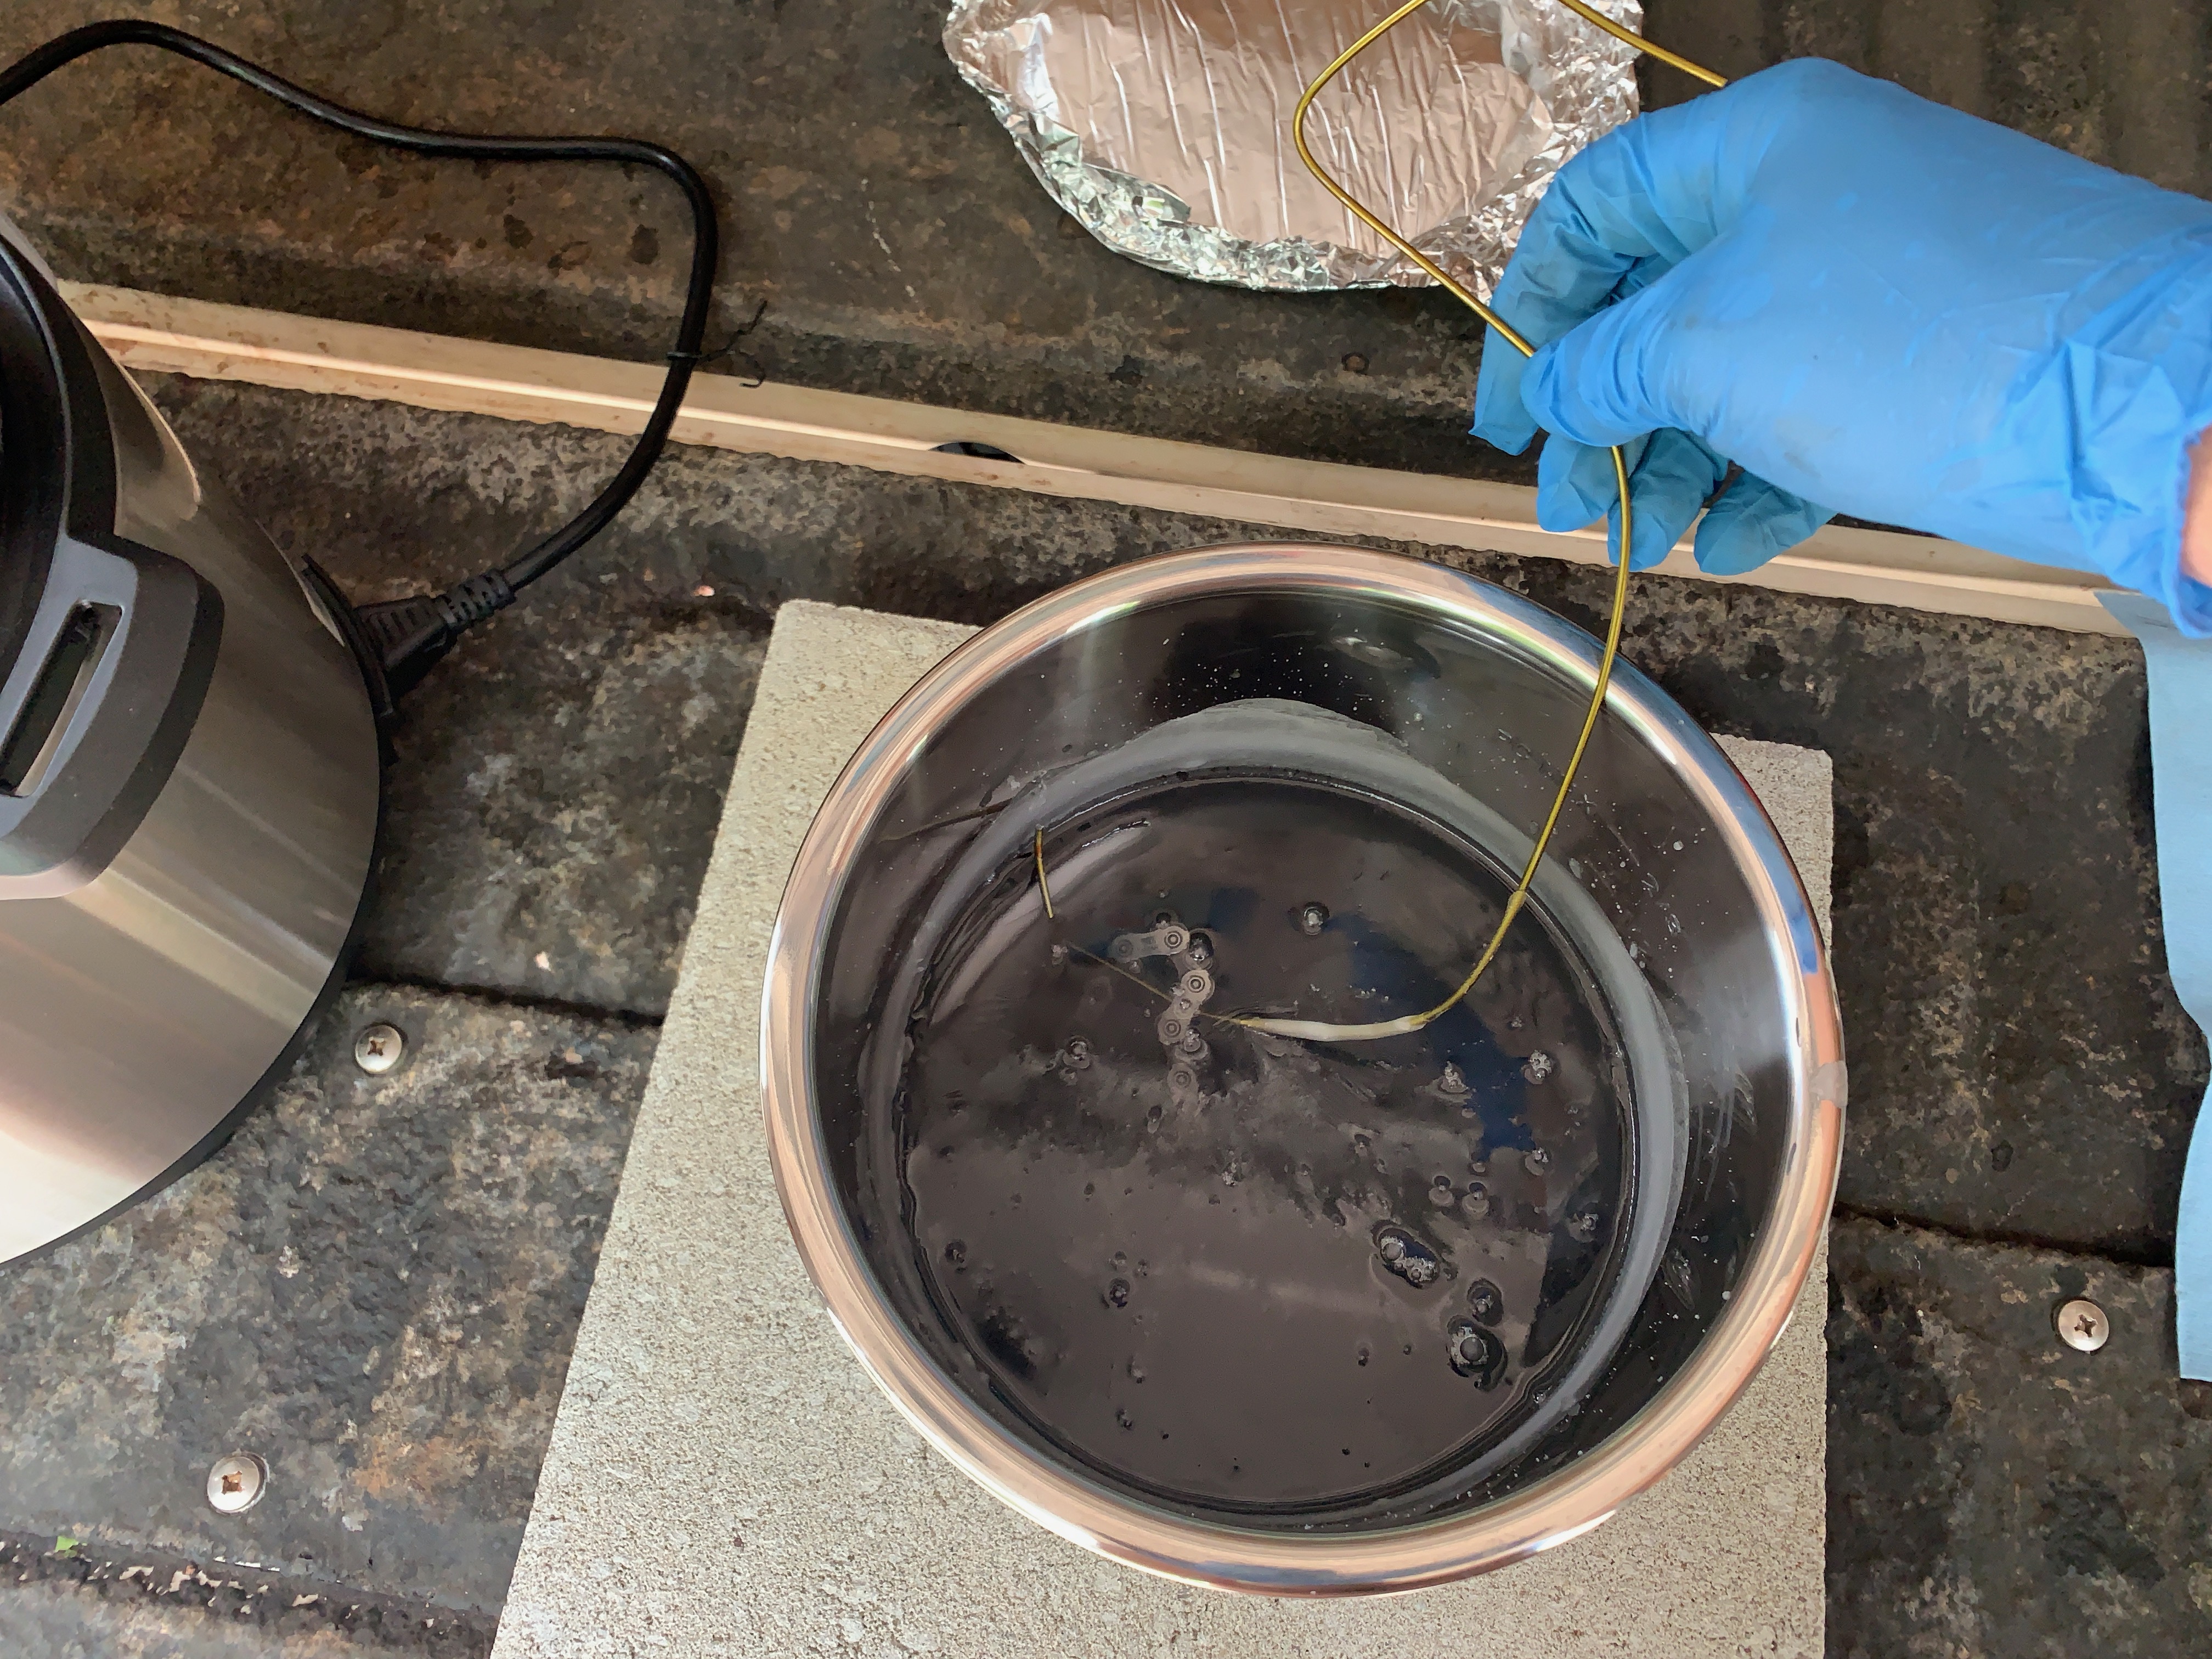
- Use a device (e.g. bent wire/coat hanger) to agitate the chain in order to work the wax and additive into the chain rollers.
- Let the wax cool until a “film” starts to develop on the surface.
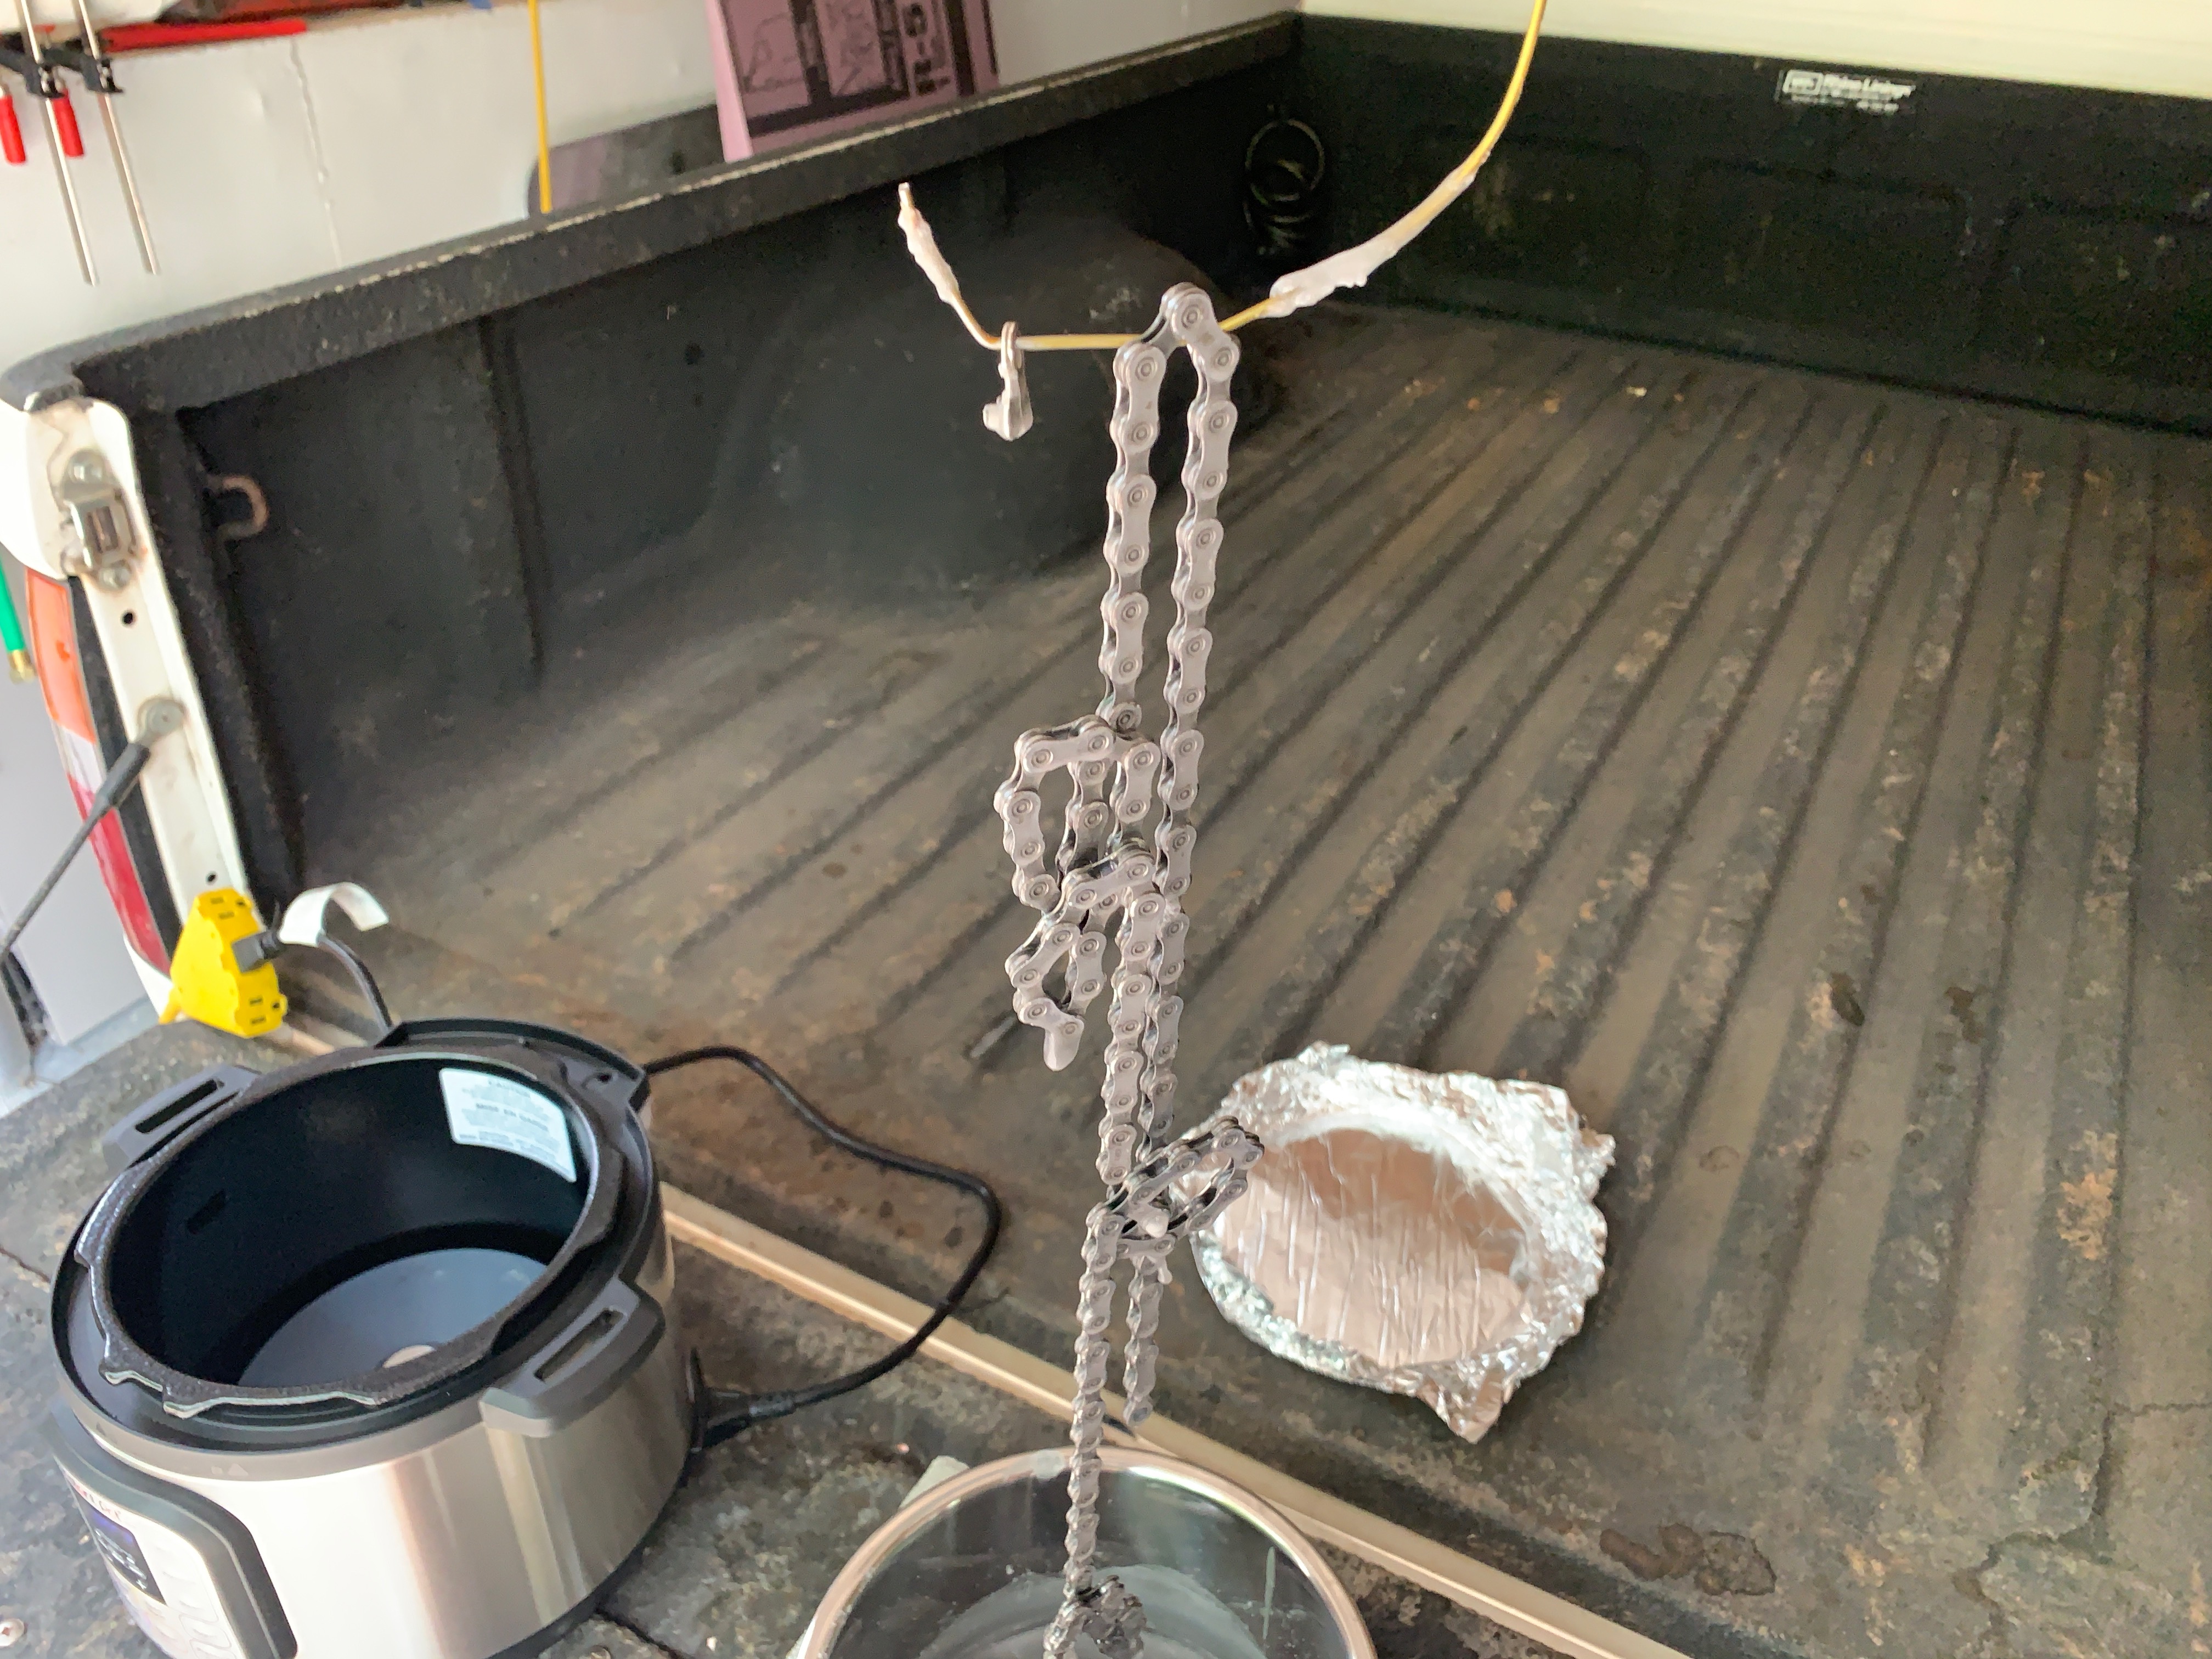
- Pull the chain from the wax and let it drip back into the pot.
- Let the chain cool to ambient temperature.
At this point the chain can be loosened by pulling it back and forth over a pipe. Once the links are loosened, the chain can be reinstalled on the bike.
Rewaxing the chain is as simple as removing it from the bike, wiping it down, and repeating the above steps.
Ongoing Maintenance §
All of the information I have read on ZFC and Silca’s site/videos indicates that a chain should get about 300km/186mi before needing to be waxed again. I typically ride around 100mi per week. My first wax was around mid-March. It seems to me that I can get away with waxing at the start of every month by taking advantage of the drip wax. So, thus far I have waxed my chain twice: once in mid-March and once on May 1. Between those waxes I applied the drip wax twice. The below image gallery shows all of the steps in the rewaxing process from that May 1, 2022 waxing session.
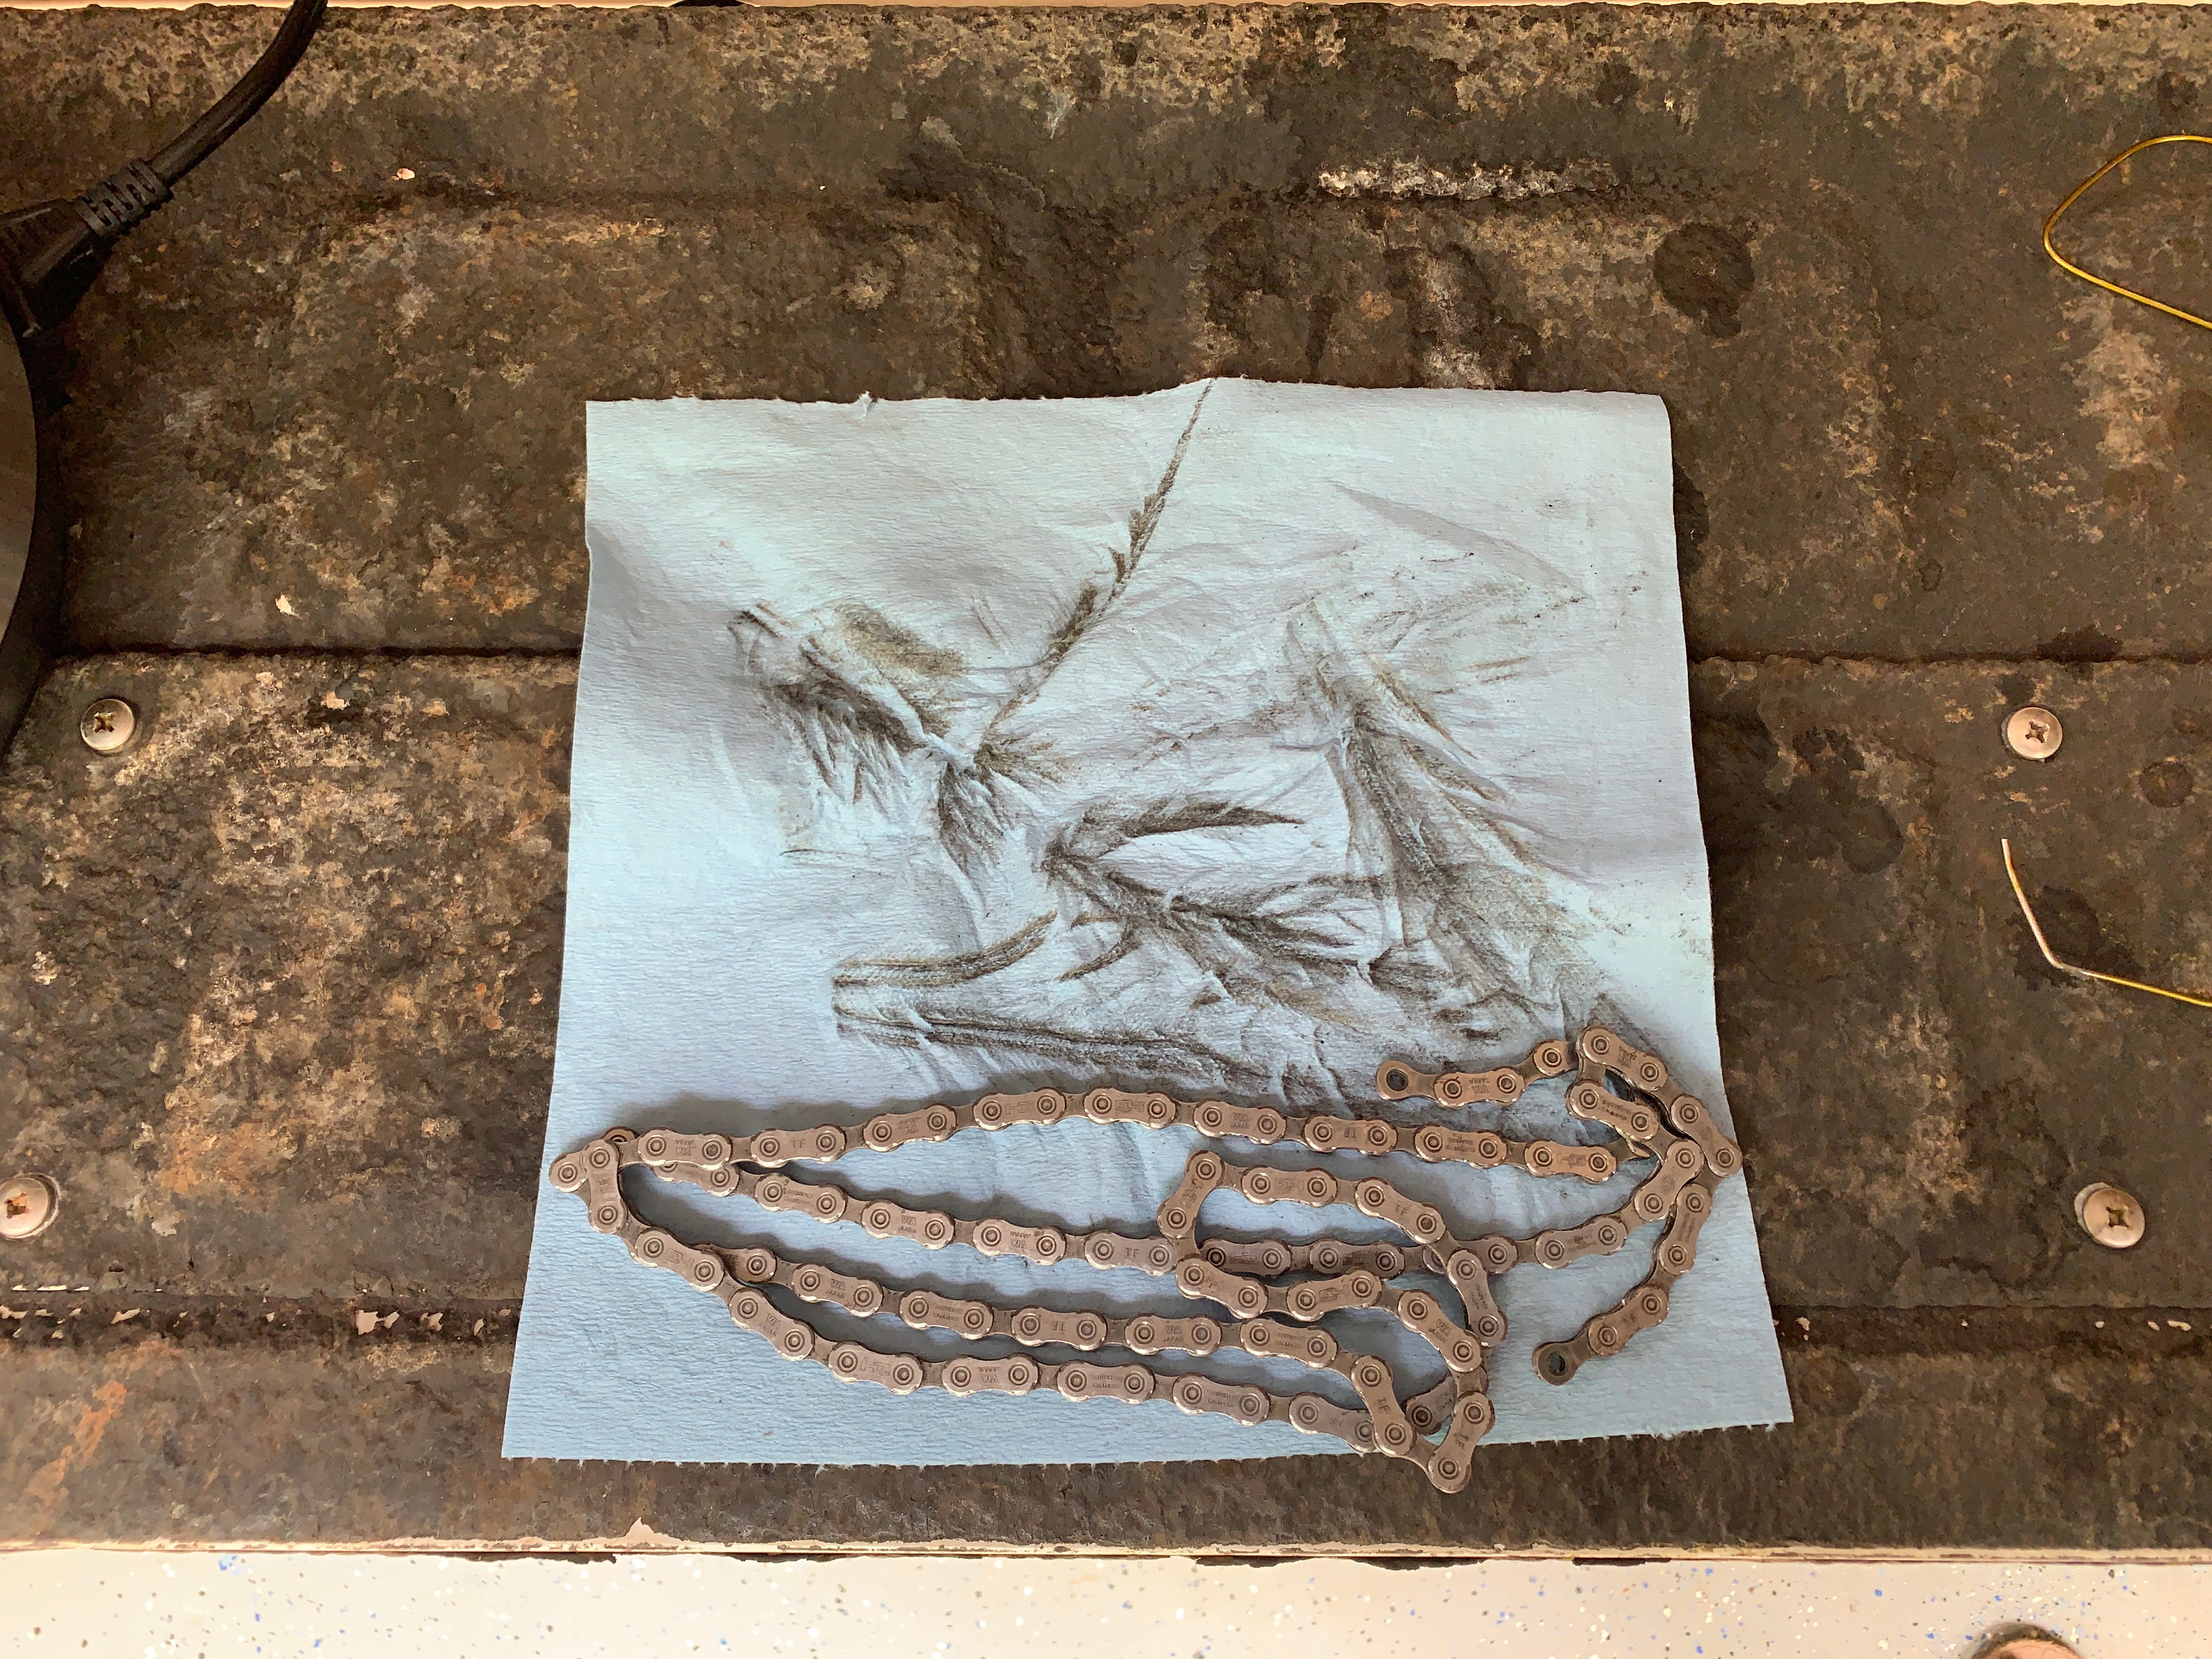


The first image shows how much dirt I removed from the chain prior to putting it in the pot for waxing. It’s one paper towel that was used to remove dirt from about a month and a half of riding. The towel is unbelievably clean; especially compared to the amount of black grease that would come from an equally ridden chain using regular wet lubricant.
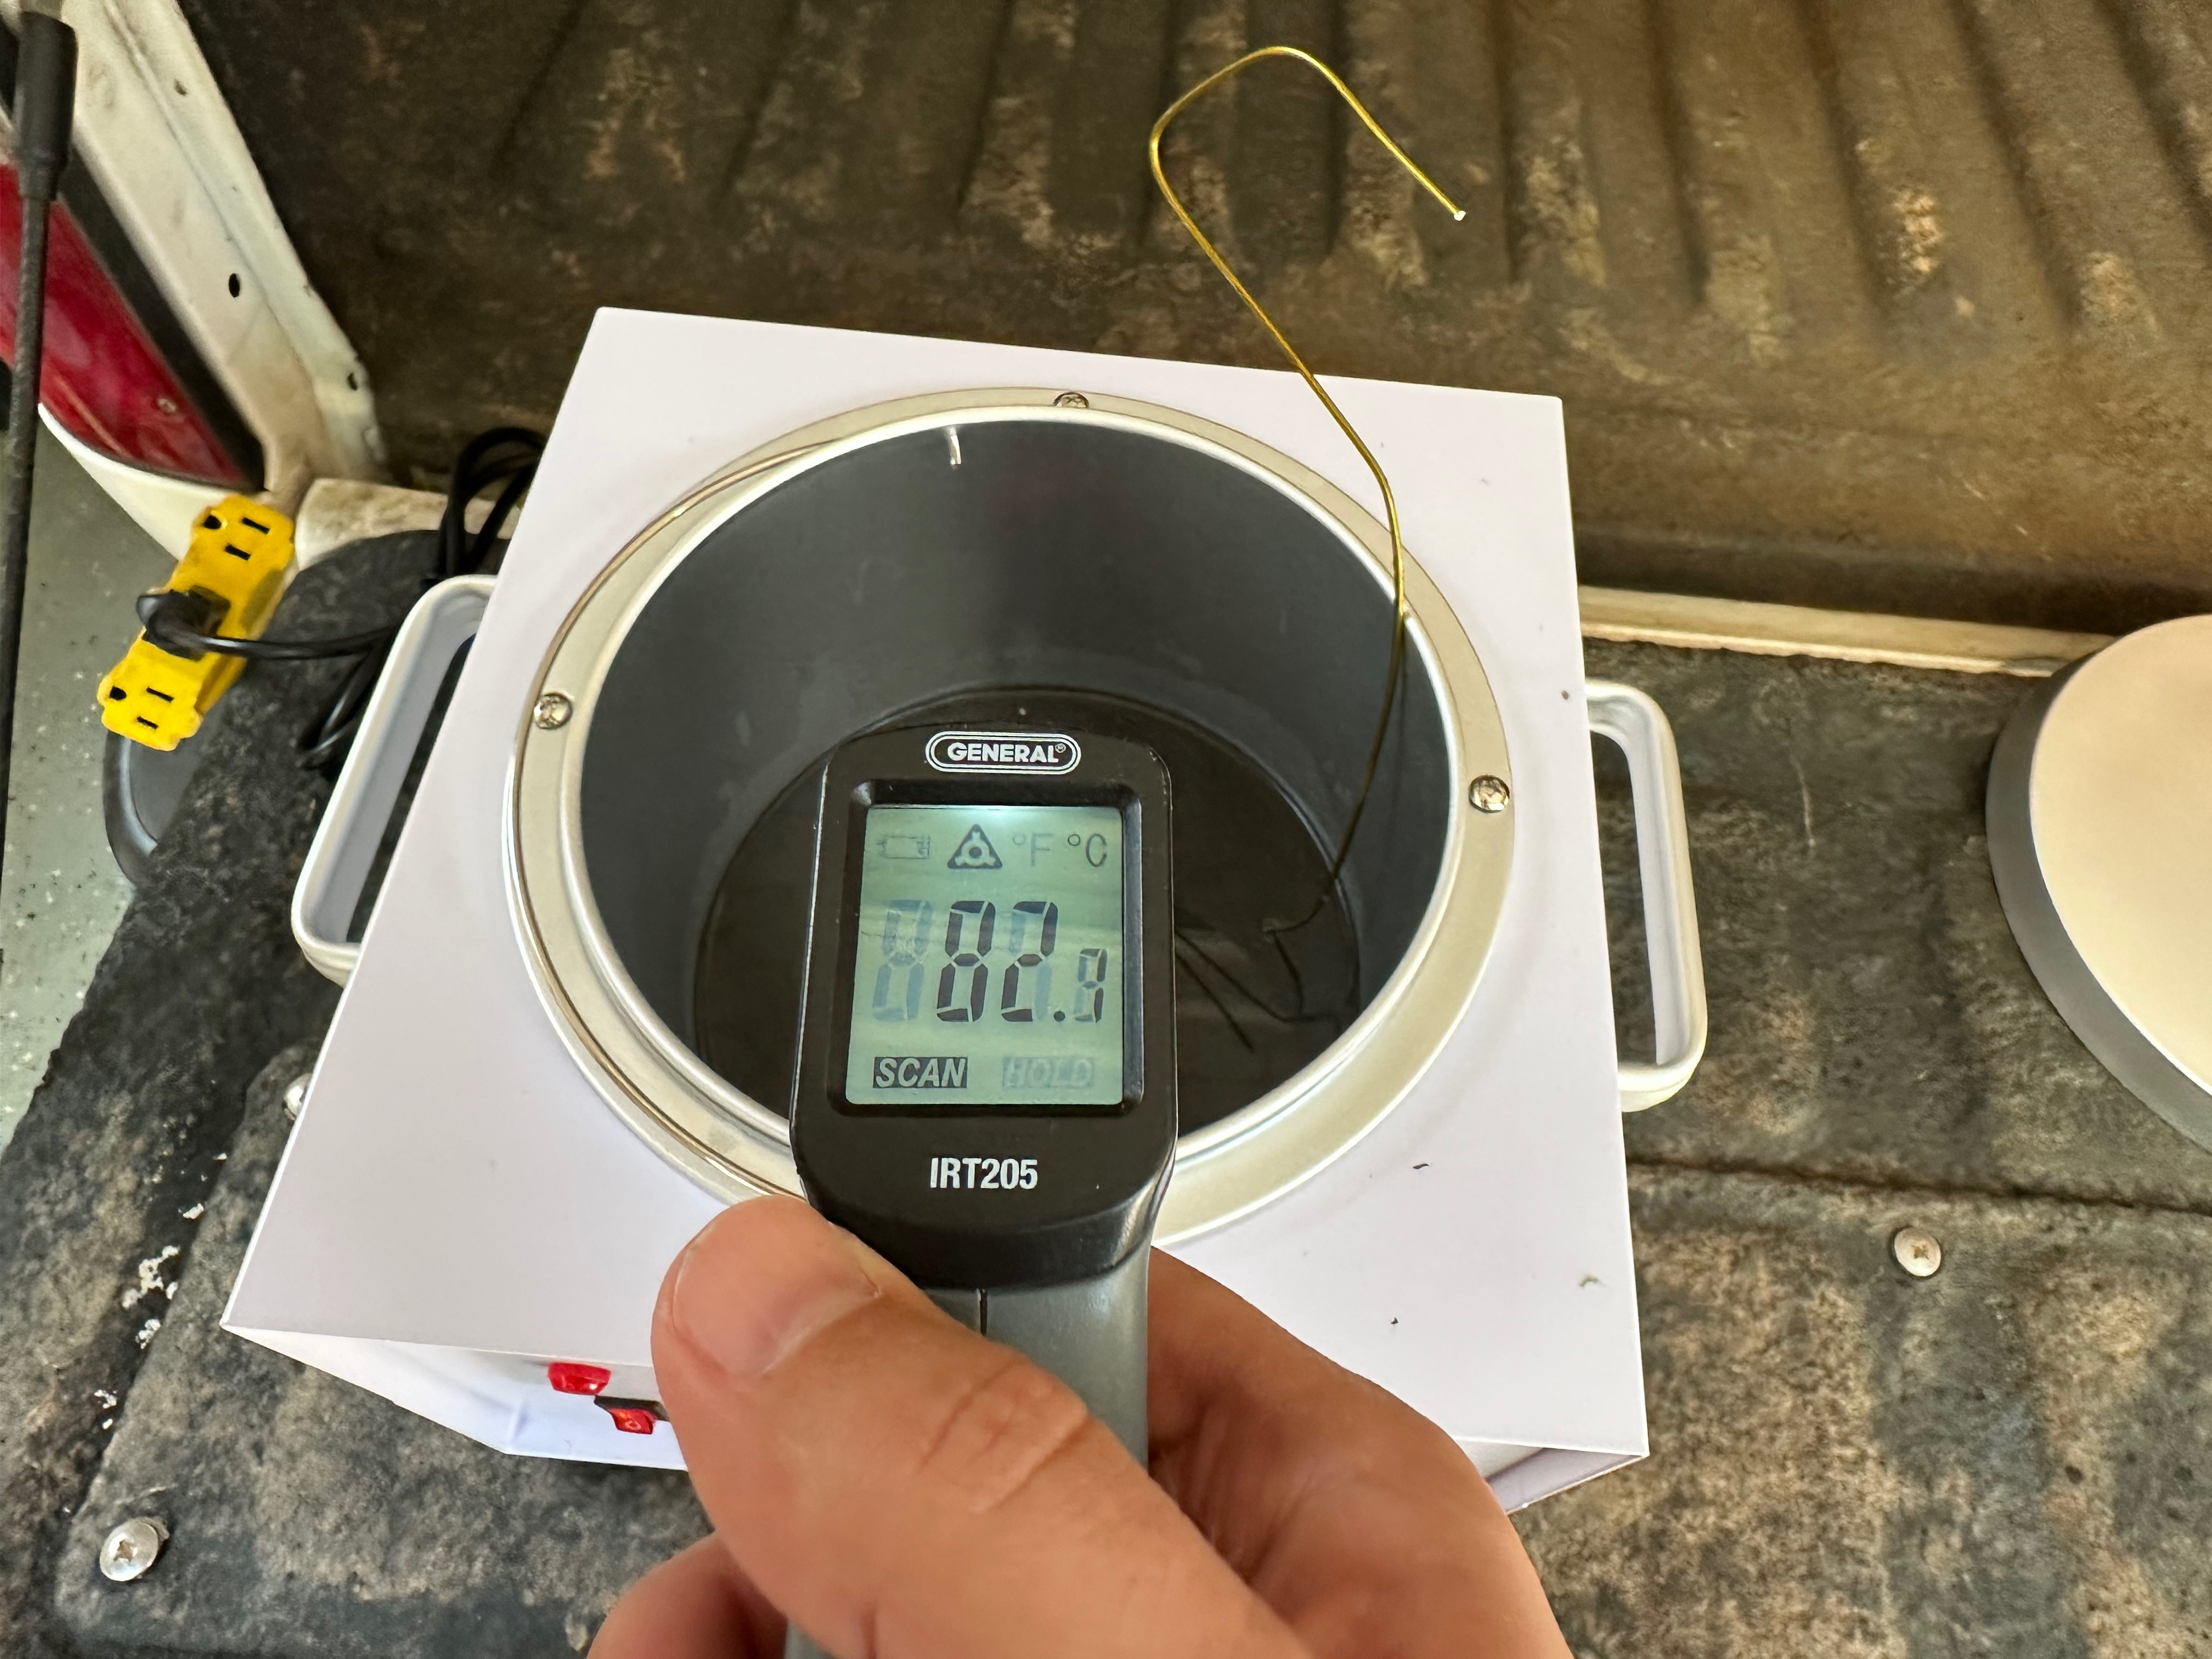
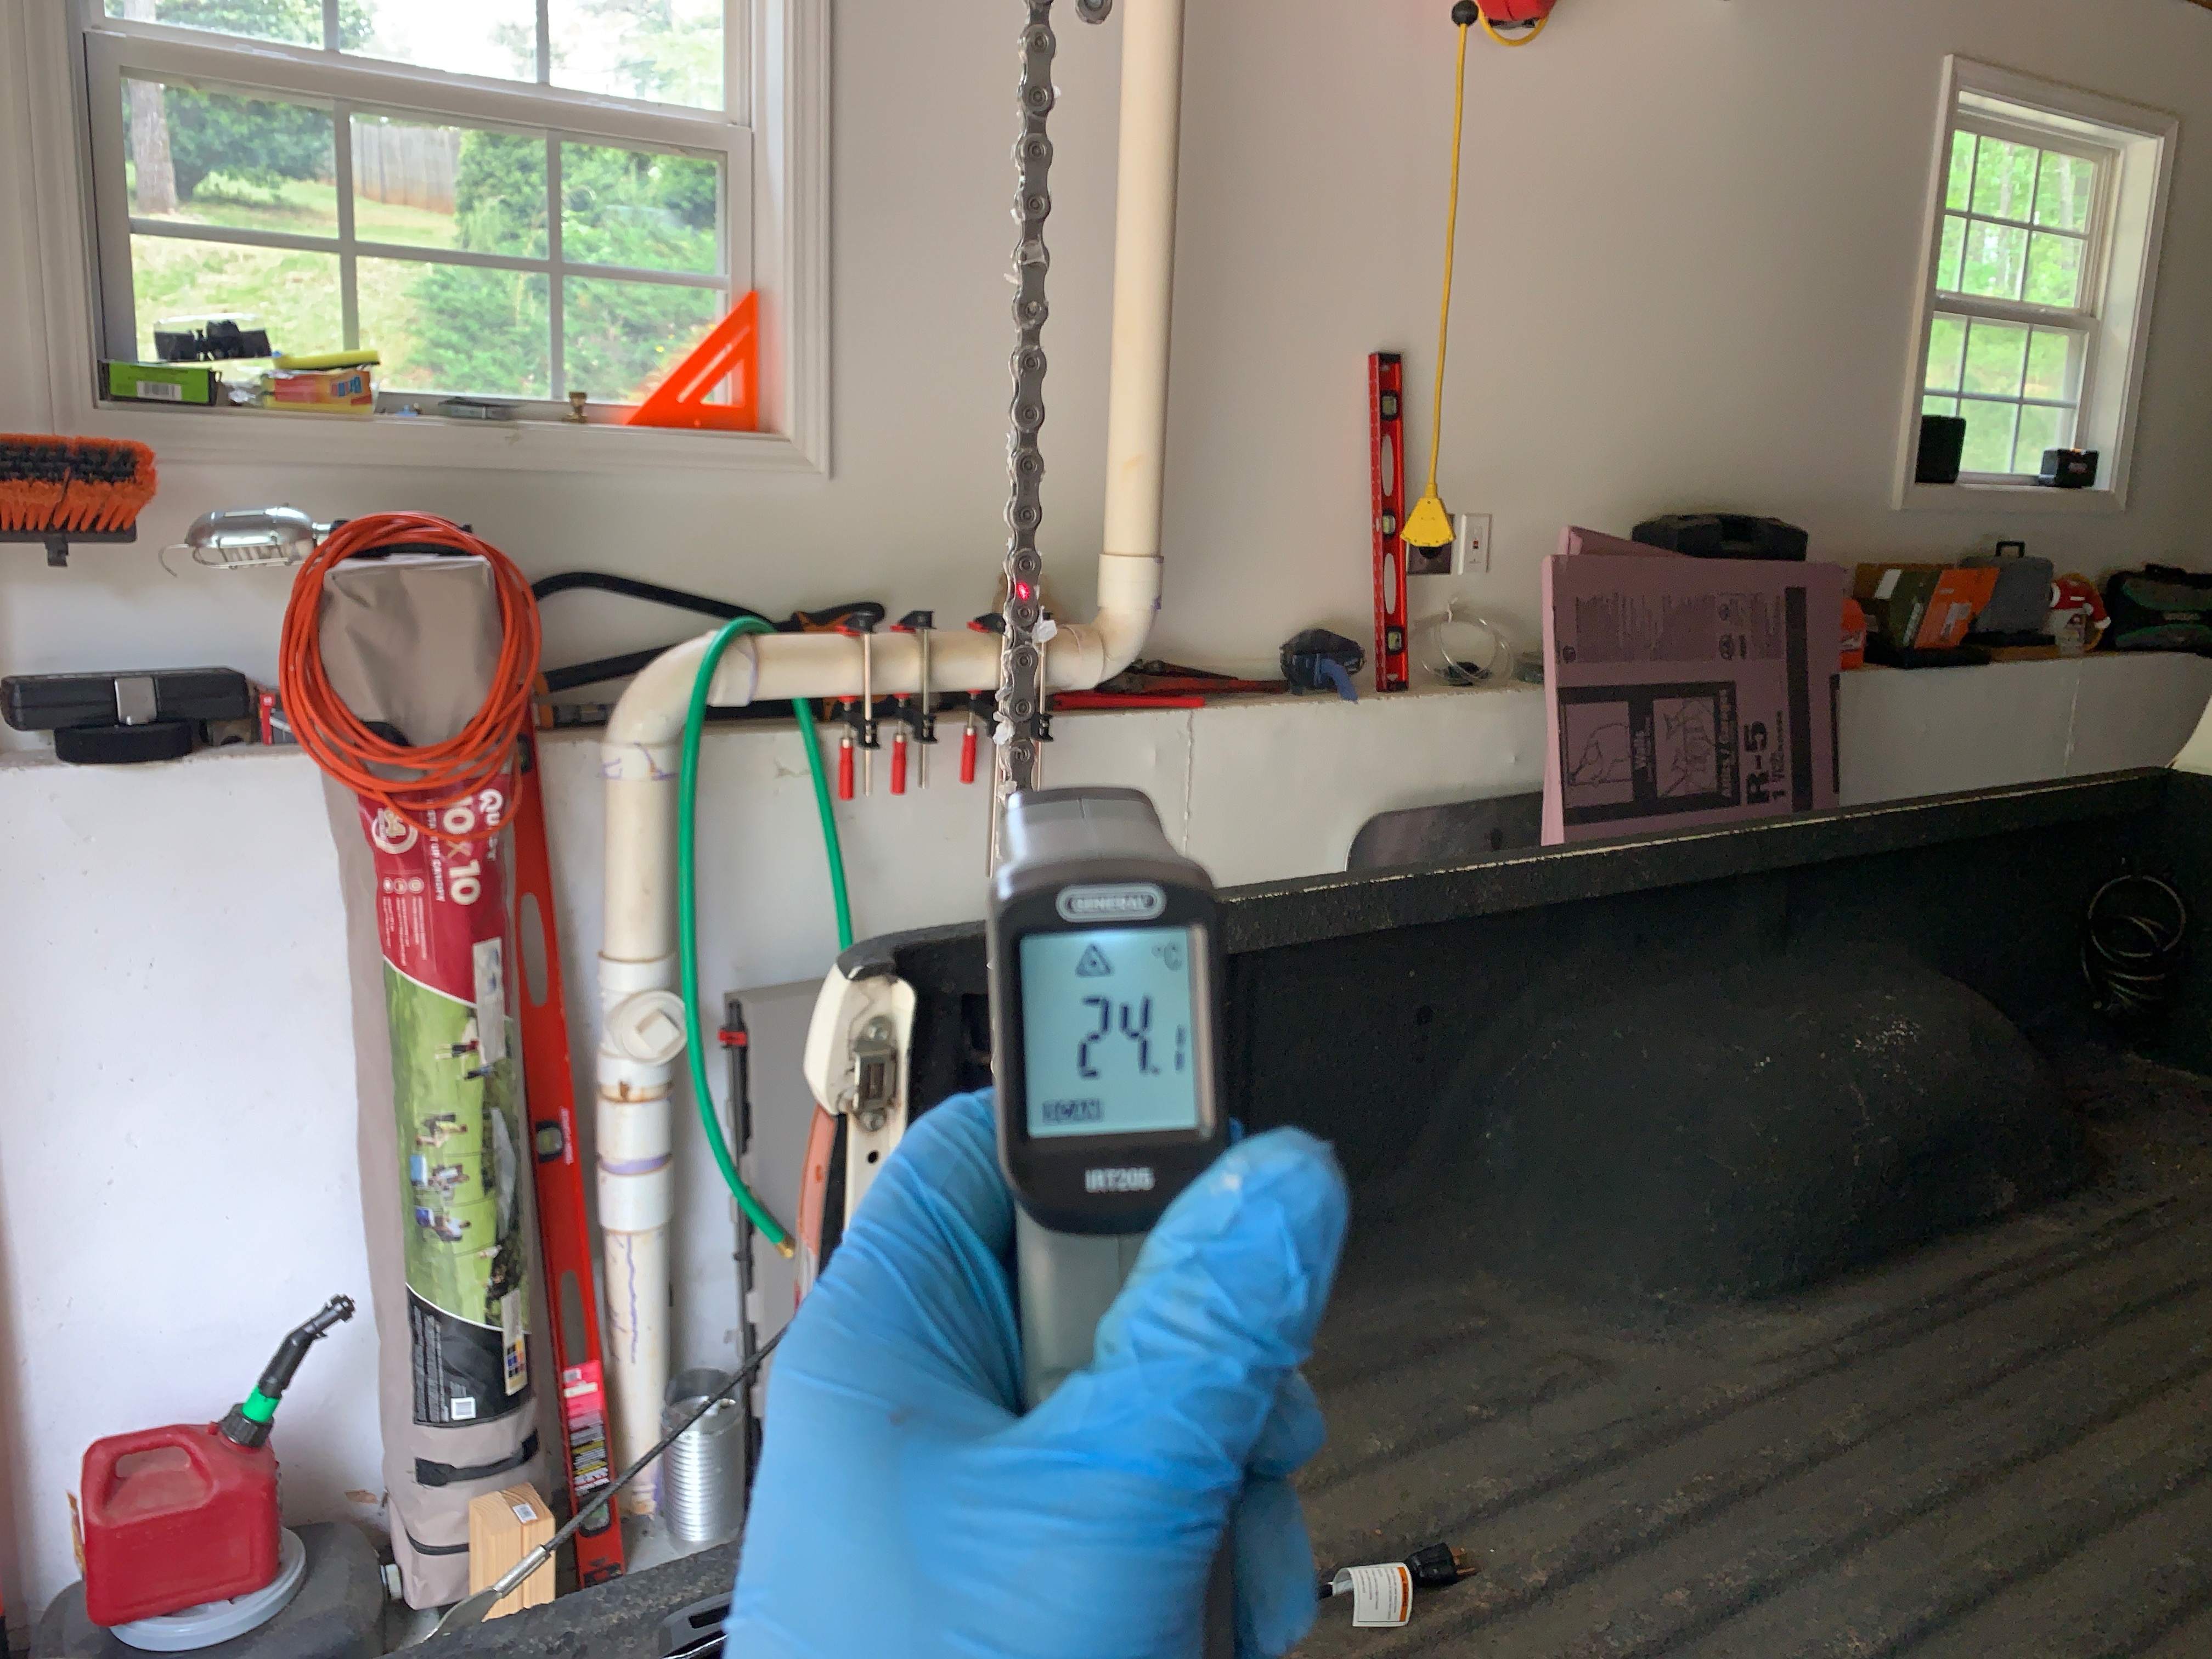
Two of the images show me measuring the temperature: first of the wax as it is being heated and the second of the chain to show it has reached ambient temperature. I highly recommend getting a laser thermometer to help with this process. Guessing that things have reached temperature is not easy.
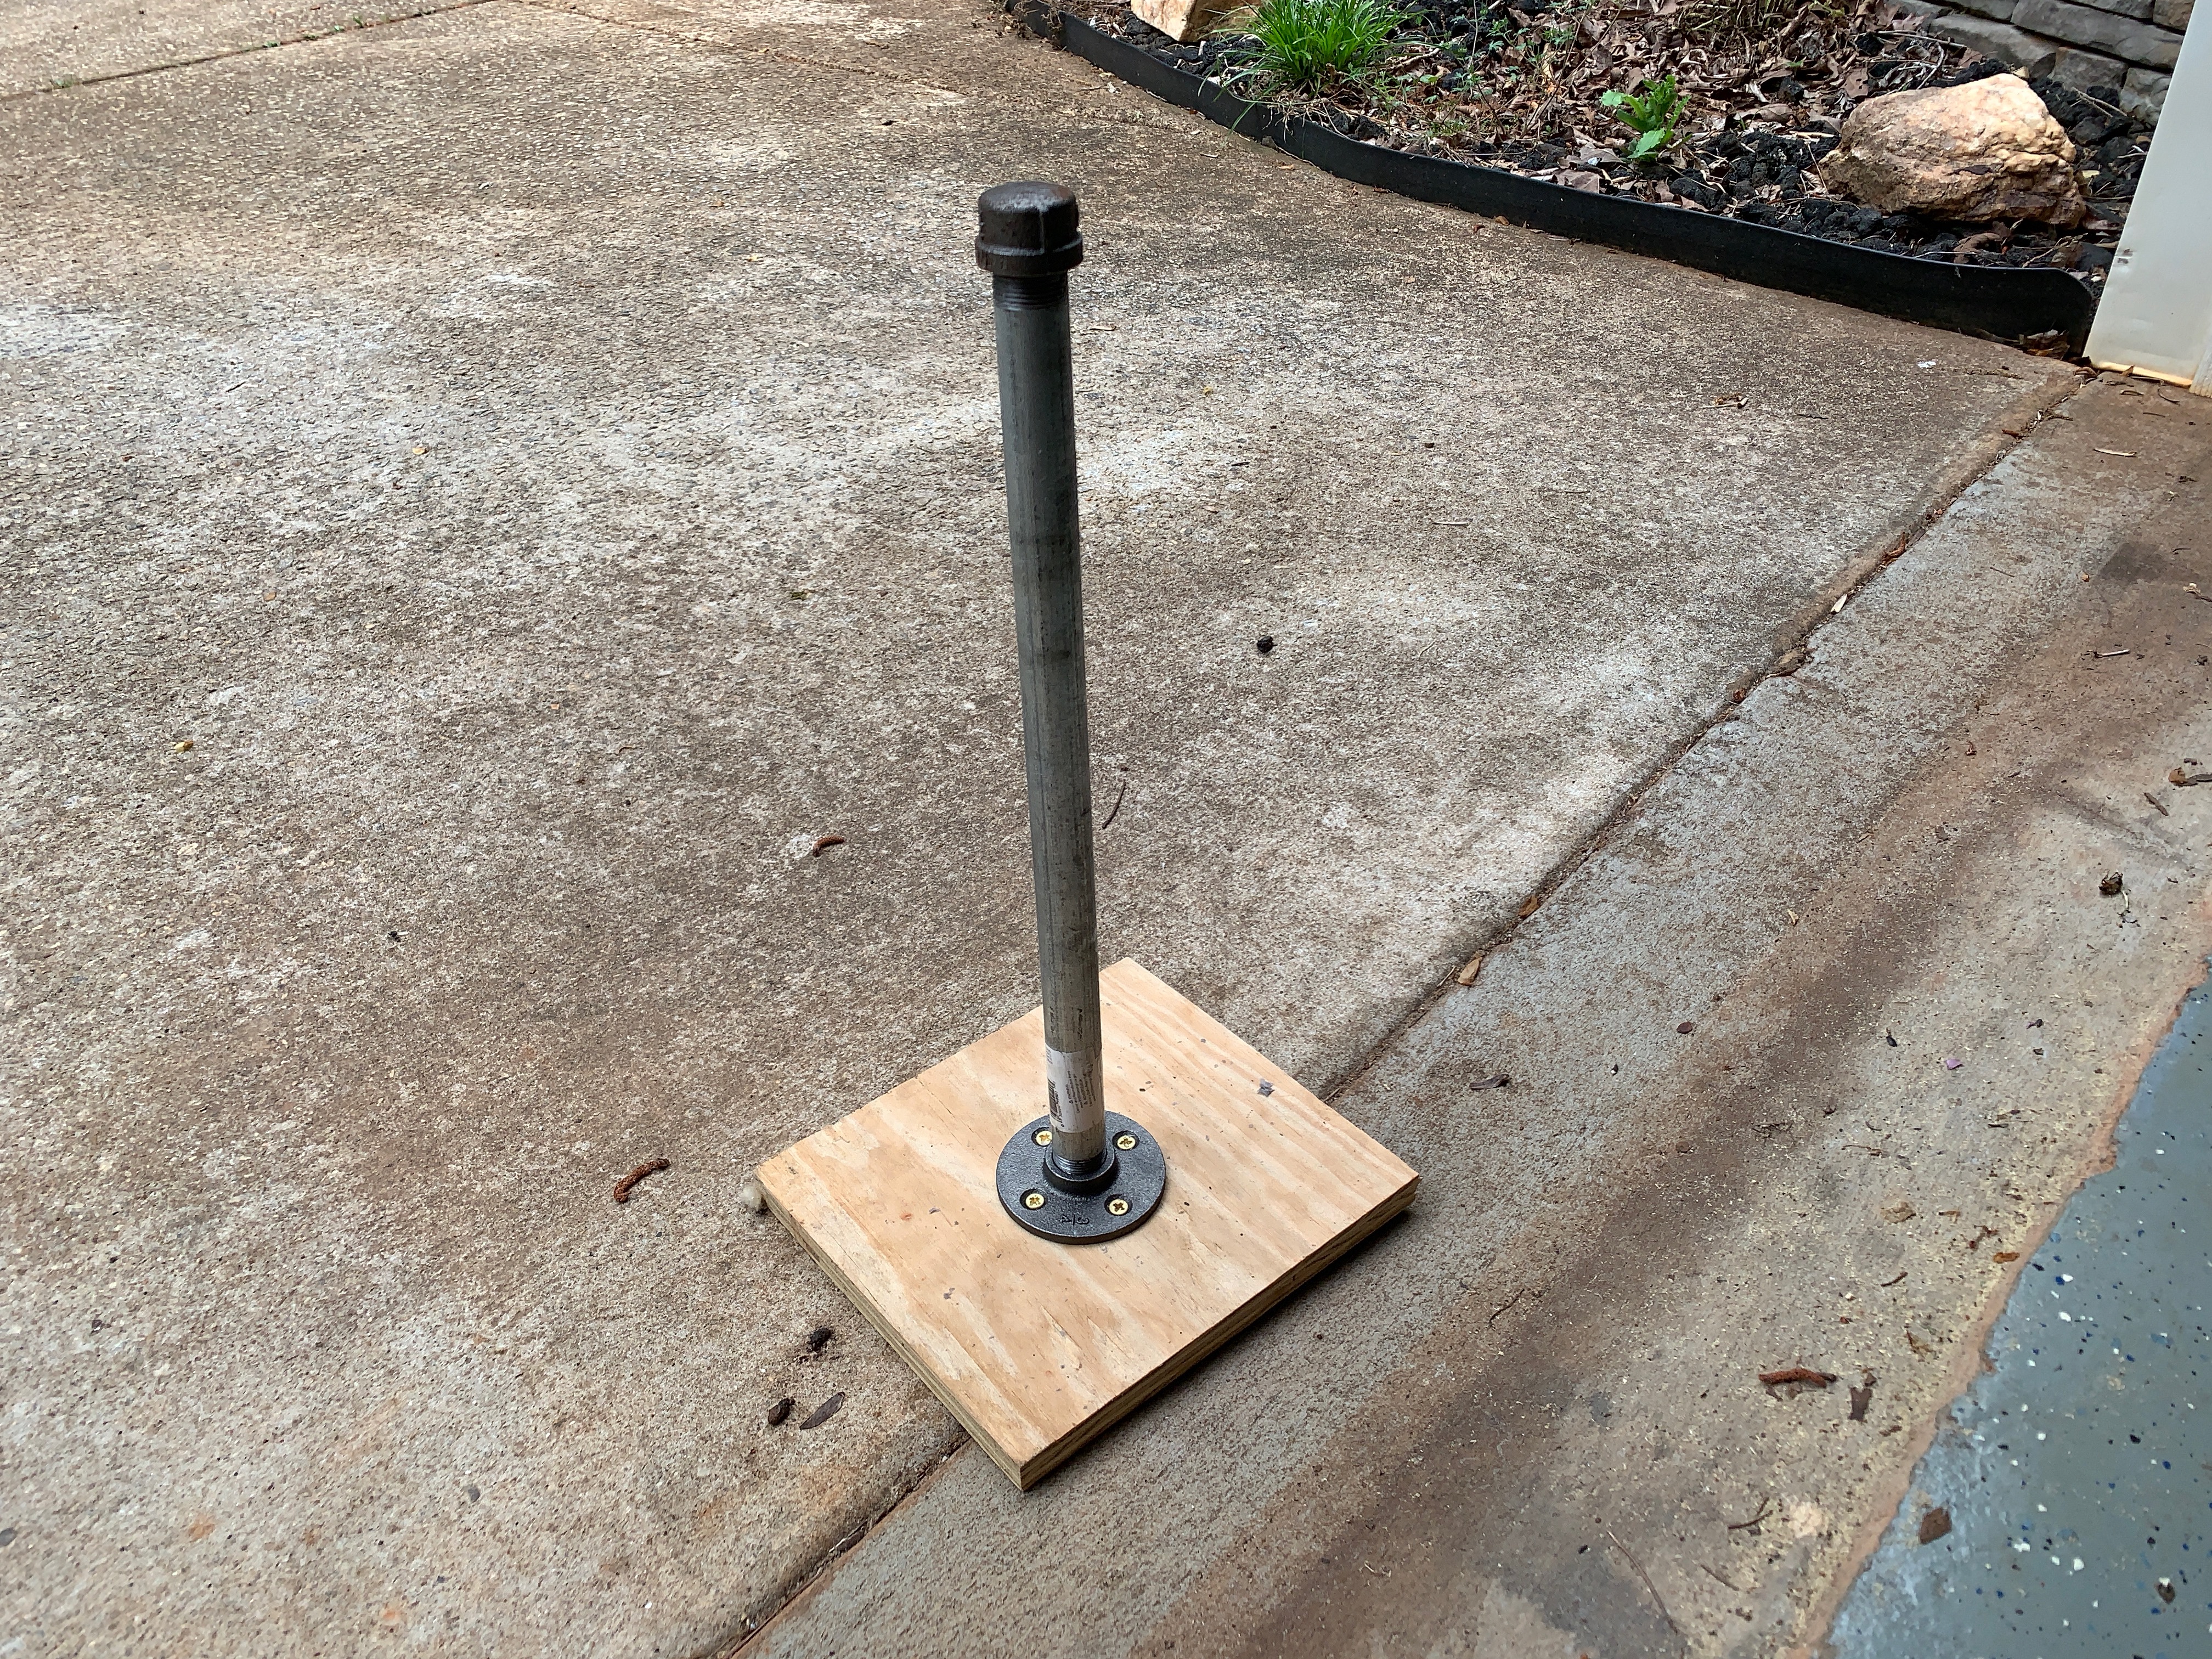
One of the images shows the tool I built for loosening the chain. It’s a small 1 square foot sheet of plywood with an iron pipe screwed into an iron floor flange attached to the plywood. I would have used PVC pipe, but I could not find a floor flange in PVC.
Finally, two of the images show the links where the quick link will be added. In the images I am showing that I remove the wax from the surface of those links. I do this because the quick link tolerance is so tight that it is basically impossible to install if the wax is present on those surfaces. Removing this was is okay because the point is for the wax to be inside the rollers, where the primary friction happens.
After putting the chain back on the bike it is a good idea to run the chain around the drivetrain for a couple minutes. This allows most of the wax that is going to flake off to go ahead and flake off so that you can wipe it off the frame.
From here, apply drip wax about every 100 miles or every two weeks, depending on riding time. Applying the drip wax is very similar to applying wet lubricant. Wipe the chain with a rag and then drip one or two drips of wax on each roller. Work each drop of wax into the roller by rolling the roller with your fingers.
Chain Noise §
The Shimano chains are extremely quiet when properly lubricated. One fear I had going in to this experiment was if the chain would remain quiet. There are many articles and videos on the web detailing everything I have already detailed in this post, but they stop short of demonstrating what the chain actually sounds like. They always state “the chain is whisper quiet” or something similar. That statement is mostly true. The following video shows the amount of noise the chain makes with about 100mi on the chain subsequent to a drip wax maintenence:
Notice that it isn’t annoyingly noisy, but there is definitely a noticeable clicking. A freshly hot waxed chain is shown in this video:
Summary §
I went into this experiment not knowing what to expect. My goal was to see if I could get a chain that would be easier to keep clean and maintained with less effort. After two waxings, my conclusion is: yes, this is going to work. The way I was cleaning my chain prior to re-lubricating it was very inefficient. I felt like it needed to be cleaned every week; if not even more often. And I was getting frustrated enough with the chain on method that was I was likely to move up to a chain off once per month method anyway.
The waxing method I described above is about an hour of maintenance from start to finish. While the chain and wax are heating up I can thoroughly wash my bike. And believe me, the Silver Comet trail that I ride alomst every Saturday, puts plenty of dirt on my bike (and me) after just one ride to justify a good washing (I really don’t understand how that trail imparts more dirt than any public road I ride).
Given the longevity of a pot of wax (Silca claims somewhere around 30 waxes?), the lack of grease picking up dirt, the lack of random chainring tattoos, and the minimal impact to maintenance time, I forsee myself sticking with waxing.
Update 2023-04-13 §
Since writing this article I have devised a couple of tips that make maintenance easier:
- Applying the drip wax between hot waxings can be done without much effort. It is plenty effective to apply a drop along the top of each roller between the chainring and the pulley wheel, massaging the wax into the rollers, and advancing the chain for the next set of links. This process is far quicker than individually massaging each roller, and works just as well.
- There is no need to hot wax the quick link. It is sufficient to hot wax the full chain, put it back on the bike and link it together with the quick link, and then apply some drip wax to the pins of the quick link.
- It’s a good idea to perform a quick degreaser and denatured alcohol rinse of the chain every few months to remove internal dirt. One round of each cleaner should be enough. Let the chain fully dry afterward, and then proceed with a standard hot wax.
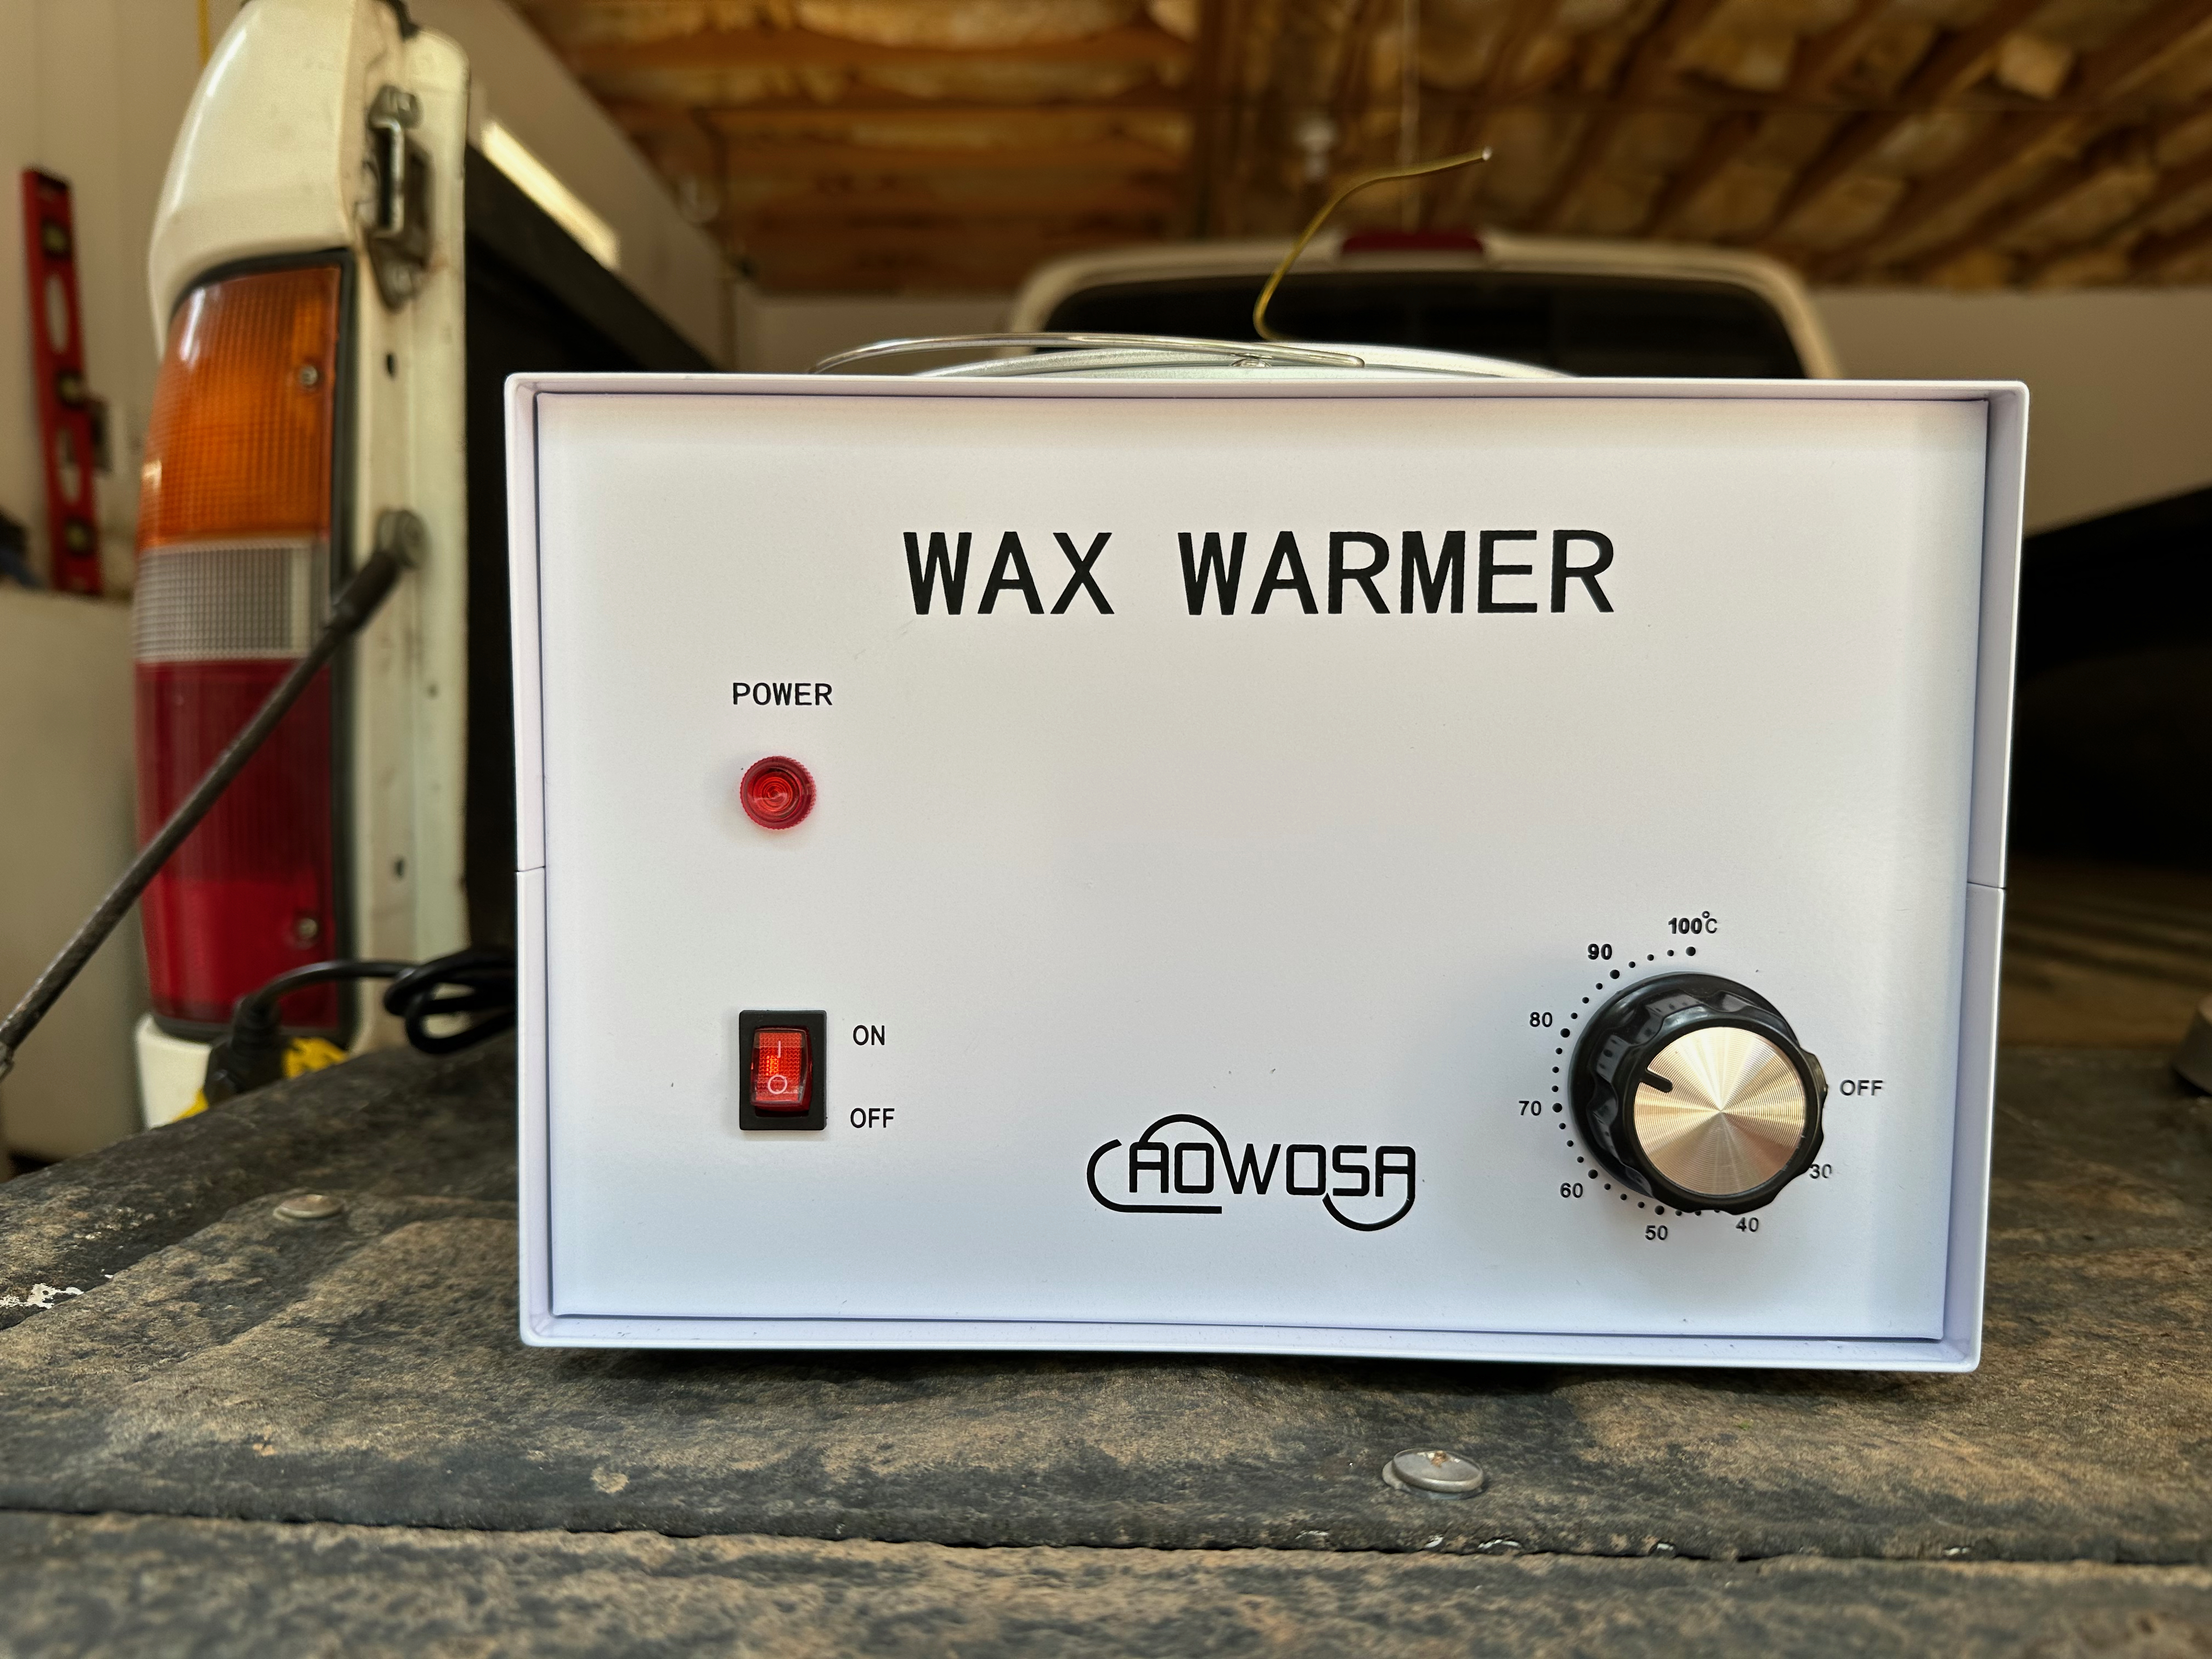
Update 2023-06-15 §
I have switched to using a dedicated wax warmer instead of using an InstantPot for melting the wax. The InstantPot heats the wax fairly quickly, but it doesn’t stop heating the wax. This means the temperature has to be regularly monitored in order to remove the pot from the heat before the wax reaches its combustion point. With the wax warmer, it’s very easy to set a desired temperature and the warmer will maintain it.
As can be seen in the images below, I have my warmer set to roughly 80ºC. It takes about an hour for the warmer to melt the wax (far slower than the InstantPot), and it isn’t completely accurate to the set temperature. My warmer seems to be around 2 to 3 degrees off on the dial. So my 80ºC setting ends up with the wax maintaining temperature at around 83ºC.
This is fine, though. I can set the warmer in action about an hour before I plan to perform the maintenance on my bicycle, and it’ll be ready when I am. I also no longer need to put the chain in the pot prior to turning the heat on in order to get the chain hot at the same time as the wax. Since the warmer is going to maintain a non-combustible temperature, I can put the chain in the wax after it has melted, deal with other bike maintenance (e.g. washing it) while the chain cooks, and then pull it when I feel it has simmered long enough.
I highly recommend going the dedicated wax warmer route. I opted for a cheap one, but if you have the cash, you can probably find one with a digital temperature control. But a cheap one where you have determined the dial and actual temperature variance is plenty sufficient for the task.